Bronze Oarlocks for Rowing: Horn style or Oval?

Perko #1 Horn style oarlocks

Perko #1 Horn style oarlocks

Thomas Oarlocks, oval

Thomas Oarlocks, oval

Chase Small Crafters can now choose between two styles of oarlocks in their kits. The familiar horn style oarlock is a standard choice. They allow the oar to pop out easily to stow in the boat and the oarlock comes out of its socket and stores in the boat, tied off to the boat with a gold colored, braided lanyard that comes with the hardware kit. However, new rowers tend to have to learn how to keep their oars from popping out prematurely. 

Or do you choose the Thomas oarlock? This oval lock is unique in shape and better than a round oarlock, in my opinion, because there is more freedom of movement vertically in the lock which is important for clearly waves and helping accommodate for a boat with a lot of flare. The fit is just right so that in the rowing motion, there is little if any slop. The shaft stays in contact with the lock through the stroke and won't lift out.

Although I am a seasoned rower, I have come to like the feel of these locks as much as I do the horn style, perhaps more so, because of the feel. However, one con is that the oarlocks live on the oar. So it is a matter of preference and I leave it up to you. 

Top five reasons to build the Echo Bay Dory Skiff for your first boat

#5 Quick to build

The tab-n-lock system

The tab-n-lock system

Time is always tight when you are teaching kids or adults and people don't have the time to commit to a multi-week class. The EBDS can be built in 3-days or a 1-week class. While going fast is the last thing I want to see teachers or parents doing while working with their kids, having a boat that goes together within kids' natural spans of attention is nice. The Echo Bay kit does this by employing features like the Wavy Scarf and the Tab-n-Lock System.

#4 Lightweight 

When a boat is light, it is easy to move on land and much easier to cartop. At 85 lbs, the Echo Bay can be thrown in a pick up or on a typical rooftop car rack. Moving the boat is not a chore. I can move the boat by myself and two kids can move the boat. Likewise, the parts of the boat are small and light and little kids can lift and carry them, becoming part of the build.

#3 Beautiful lines

Boat-wSunrise1.jpg

We ought to be showing our children what beautiful is and means and why we should take care of nice things. Life is too short to own an ugly boat is a famous bumper sticker on the coast of Maine. Life is too short not to build a beautiful boat, is my saying.

#2 You can include kids in the project

IMG_1390.JPG

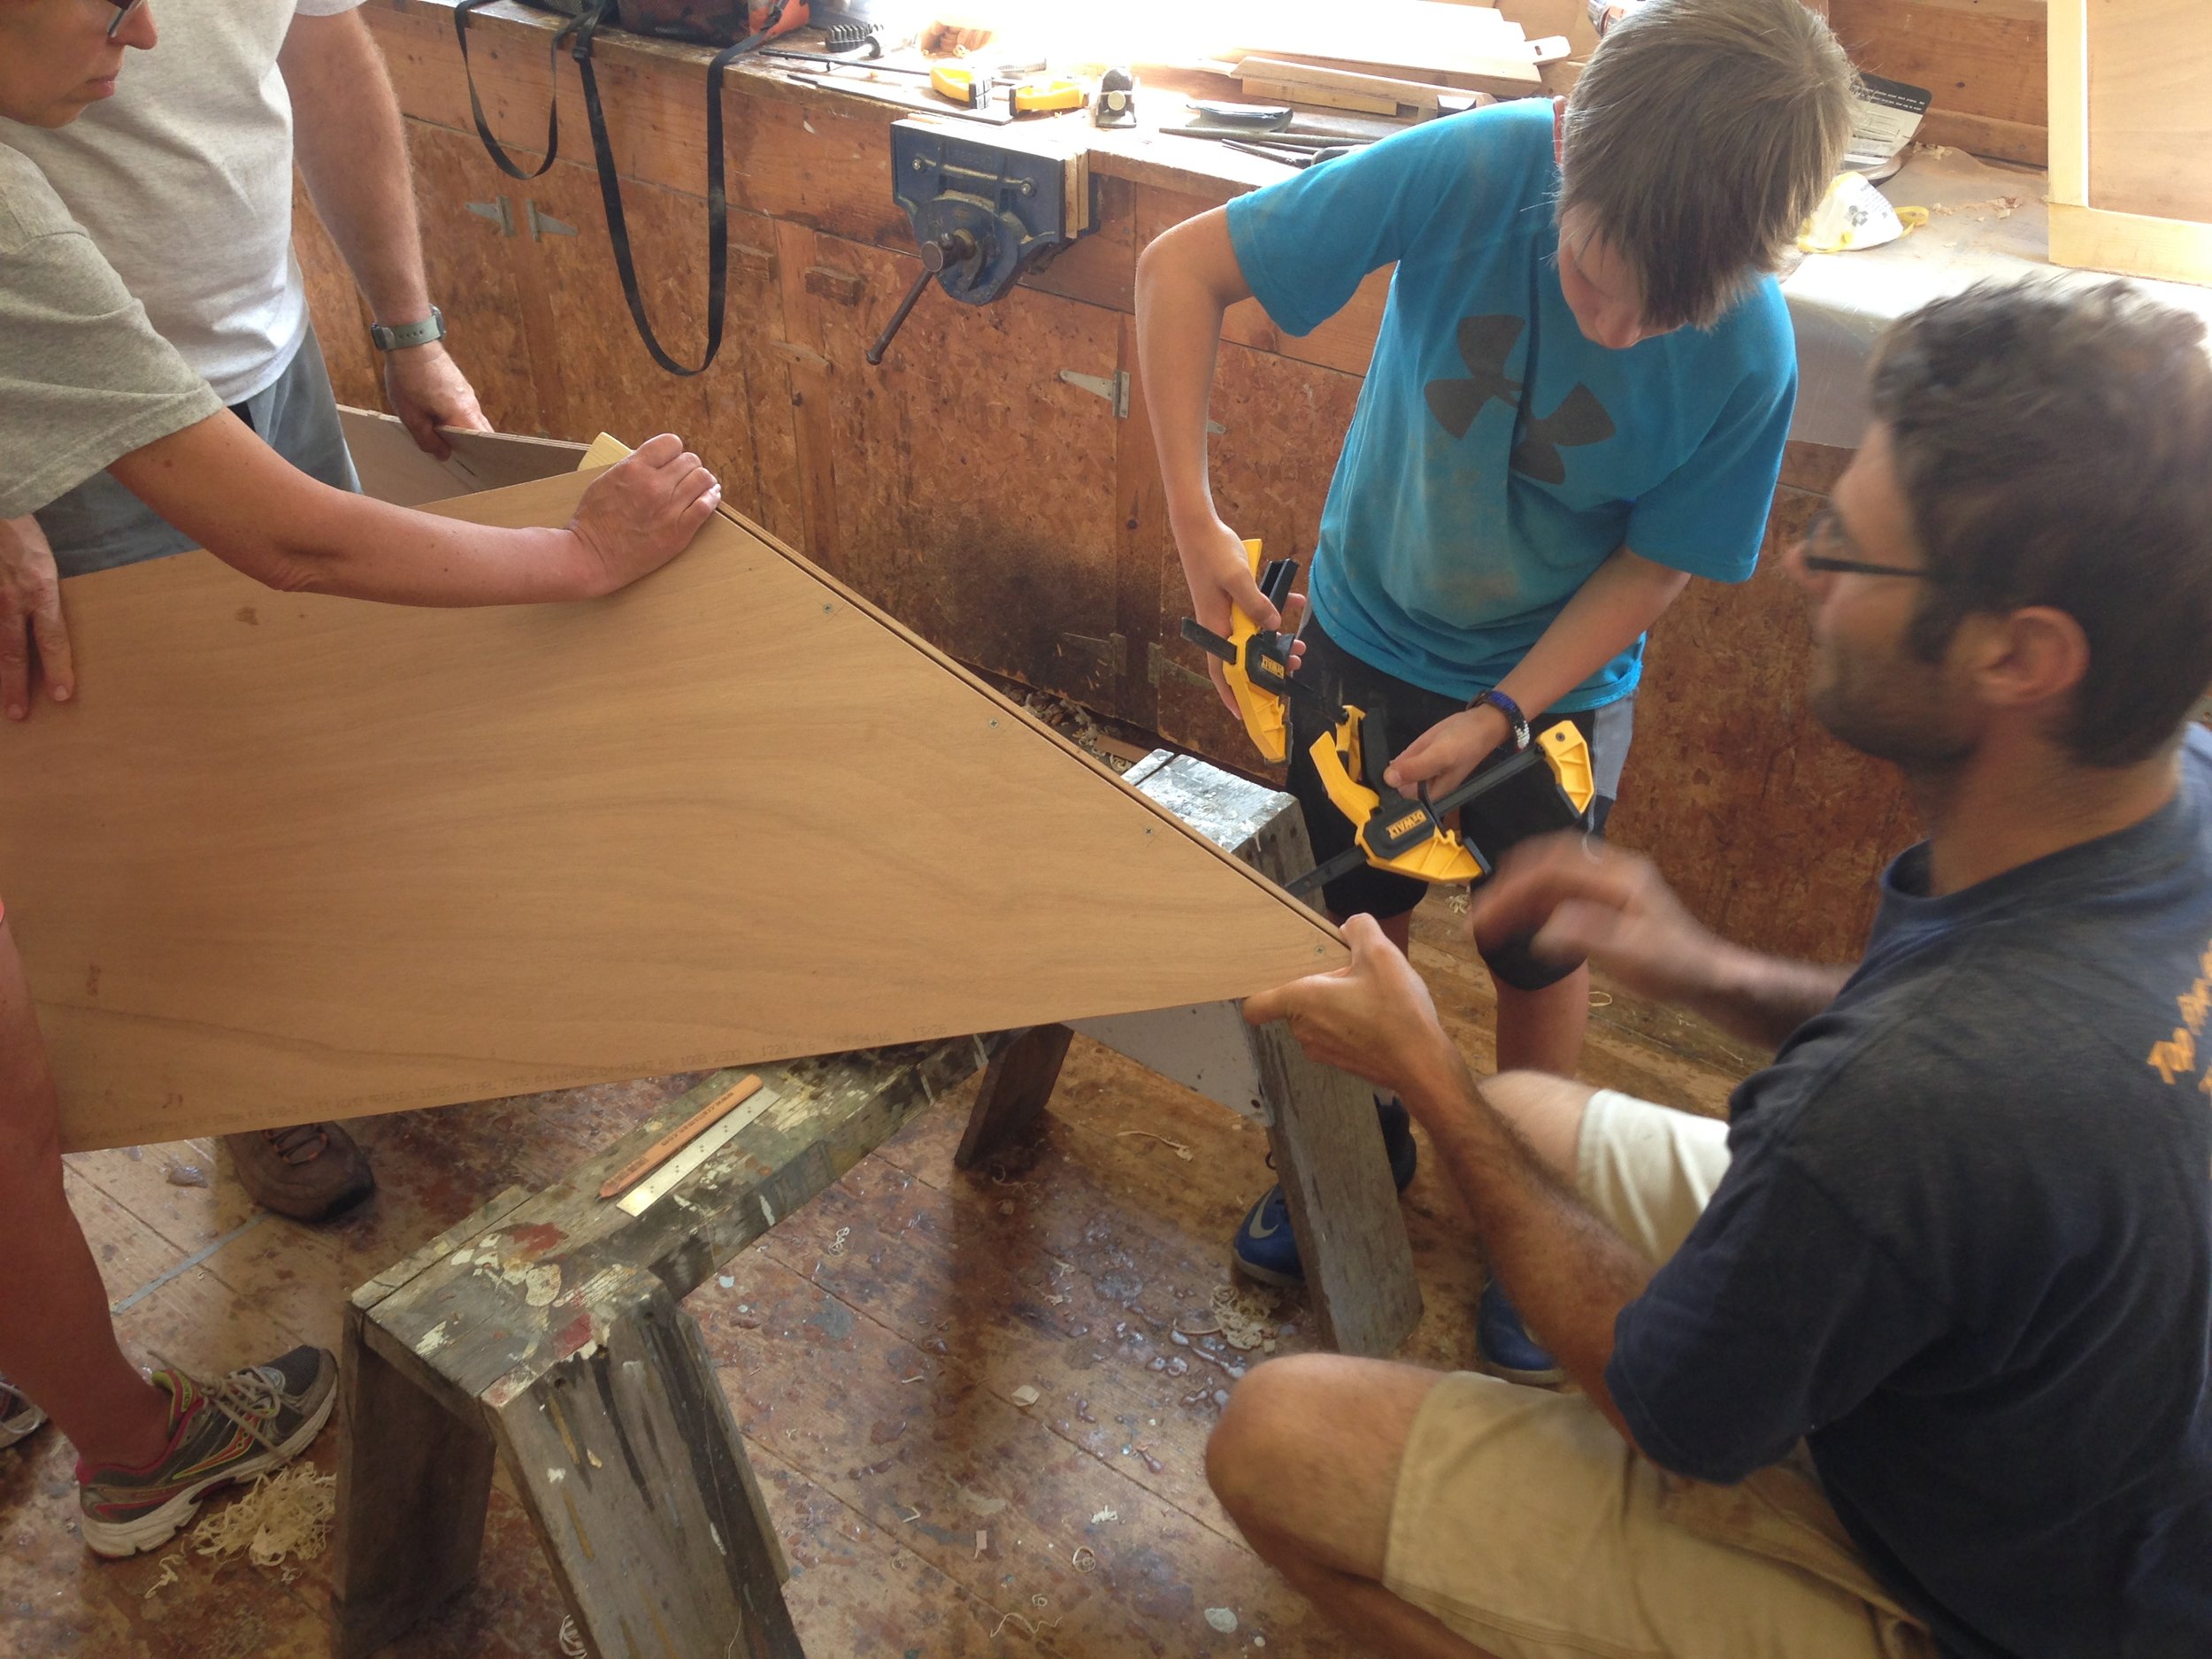
When I teach with the Echo Bay, the first day of a week long class is spent preparing parts, such as:

  1. Shaping the stem
  2. Gluing the planks
  3. Preparing the bulkheads
  4. Making the midship frame
  5. Making the transom

Each kid has a job that they can get their arms around. They have a concrete project that teaches them skills and builds familiarity with the materials and workflow in the shop. After making their part, they can bring it to the group project when the sides of the boat are formed.

The EBDS is also a good project for using tube adhesives, specifically I use GelMagic or Gluezilla which is an epoxy in a caulking tube with a mixing tip. The glue comes out premixed and the work stays much cleaner which is always good when you have kids involved.

#1 The Echo Bay is simply a joy on the water, sailing or rowing

The Echo Bay Dory Skiff sails and rows beautifully and you can get a 2-3 kids into the boat comfortably or two adults. The lug or sprit sail drives the boat very well without over-canvassing it and under oars the skiff flies. In fact, the Echo Bay routinely won a rowing race (Compass Projects Rowgatta) I used to run in Portland years ago.

An excited, novice builder takes on the Calendar Islands Yawl 16

Nick and his first-mate

Nick fell in love with the Calendar Islands Yawl. He wanted a beautiful boat that he could build himself and sail with his family. And he wanted to learn how to build a boat with help from me at Chase Small Craft as well as the supports offered by the WoodenBoat Forum and the excellent books available on plywood boatbuilding. Nick bought the CIY plywood kit and epoxy/glass kits.

One of the first and most important learning curves for any builder is the mixing and using of epoxy. I remember not-so-fondly my nerves frayed when I did my first epoxy job. Just breathe, take your time, and by all means get the ration spot on! Most of the epoxies I send out are 2 parts Resin to 1 part hardener (2:1 ratio). In my kit manuals, I advocate and instruct on the importance of precoating the plywood parts with 2-3 coats of epoxy. The epoxy seals the plywood and provides an outstanding base for varnish and paint. The best epoxy are the low-viscosity ones. Nick is using System Three's Laminating Resin, which came in the CIY epoxy/glass kit I sent to him with the plywood kit. Once understanding the simplicity of mixing this 2:1 epoxy mix, the next quandary is how to best schedule the multiple coats of epoxy. The ideal precoating schedule follows:

Use the light glaring off the wet surface to tell if you have covered the wood uniformly. This becomes more important with each coat of epoxy.

Use the light glaring off the wet surface to tell if you have covered the wood uniformly. This becomes more important with each coat of epoxy.

  1. Prepare the parts by sanding edges and other rough spots with 120-grit sand paper. If parts were glued, smooth areas of squeezed out glue with 80-grit. Roundover edges of frames/bulkheads that will be in the "cockpit" with 80-grit or a router bit up to 3/16" radius.
  2. Prepare the application materials for precoating (included in kit): roller covers and frames, plastic squeegees, mixing cups and sticks, paint trays, chip brushes.
  3. Prepare the area for rolling on the epoxy. A bench with parts laid out and plastic underneath is best. An old door on sawhorses makes a great makeshift bench!
  4. Mix the epoxy exactly as the directions say. Never, ever add a little more hardener because you think it will make the epoxy cure better. That is not how epoxy works.
  5. Roll out the epoxy like it is primer for paint: a think even coat. Use a brush to soak end-grain (edges of ply) and nooks or crannies. 
  6. Let the epoxy tack up or "go green" as the pros say. You know you are at this stage when you can see your fingerprint in the epoxy and it is clearly tacking. Roll on coat #2.
  7. When coat #2 goes green, roll on coat #3.
  8. Sand it all well with 120-grit. A machine sander really helps for the planks and larger bulheads, but sand corners and edges by hand. By all means do not "burn through", meaning don't sand through the epoxy into the wood....ideally. 
  9. The parts are ready for setting up on the strongback once sanded smooth. For the places where glue is to be spread (e.g., between frame and plank) do an extra thorough sanding so as to get the best secondary bond. If you burned through in areas, spot prime those with epoxy and resand smooth.
  10. The time to recoat the epoxy can be anywhere from 6-24 hours depending on the temperature. Use the fingerprint method and plan on all day monitoring of the epoxy. The time to sand will also be temperature dependent: 24 hours at room temp. Double that time for every 10 degrees in temperature drop. 

Advanced tips:

  • Sometimes it is advantageous to let the 2nd coat cure 100% (24 hours) and sand it smooth, then apply the 3rd and final coat of epoxy.
  • If you do the above for the planks: let the final coat of epoxy cure and glue it onto the boat without sanding the epoxy. This will give you the ideal chemical bond between planks and frames.
  • System Three laminating resin is a non-blush epoxy with a 72 hour recoat time! But it is best practice to recoat within 24 hours if you are able.
A batch of CIY parts prepared: the bulkhead frames are glued. You can make out the alignment holes precut into those parts. 

A batch of CIY parts prepared: the bulkhead frames are glued. You can make out the alignment holes precut into those parts. 

There is so much to learn and I’m loving it. I’m very happy with how well things are working out so far.
— Nick, newbie builder extroidinaire

How much does a kit cost? What does that include?

Plywood Kits for Chase Small Craft range from $985 for a 10-foot skiff to $3,000 for a small daysailer. It all depends on the size of the boat but also the number of sheets and thickness of plywood in the kit. Boats that require a strongback are often much more challenging for new boatbuilders, but Chase Small Craft comes with all the strongback and building jig components in the plywood kit. The jig is mostly chipboard, flat and easy to machine. The parts go together like a big lego! The planks all come with a fancy CNC scarf that eliminates hours of plywood scarfing. Seating, tanks, decking (if there is a deck), and interior structure is all included. Often full size patterns are included for parts to be cut out of solid wood. Even fillet sticks are thrown in. Every detail is thought out in advance to make building a boat so much quicker and much more enjoyable than it used to be. Learn more at the webpage on complete kits.