What are the advantages of using Glued-lapstrake plywood in boat kit construction?

A Calendar Islands 18 showing off its lines.

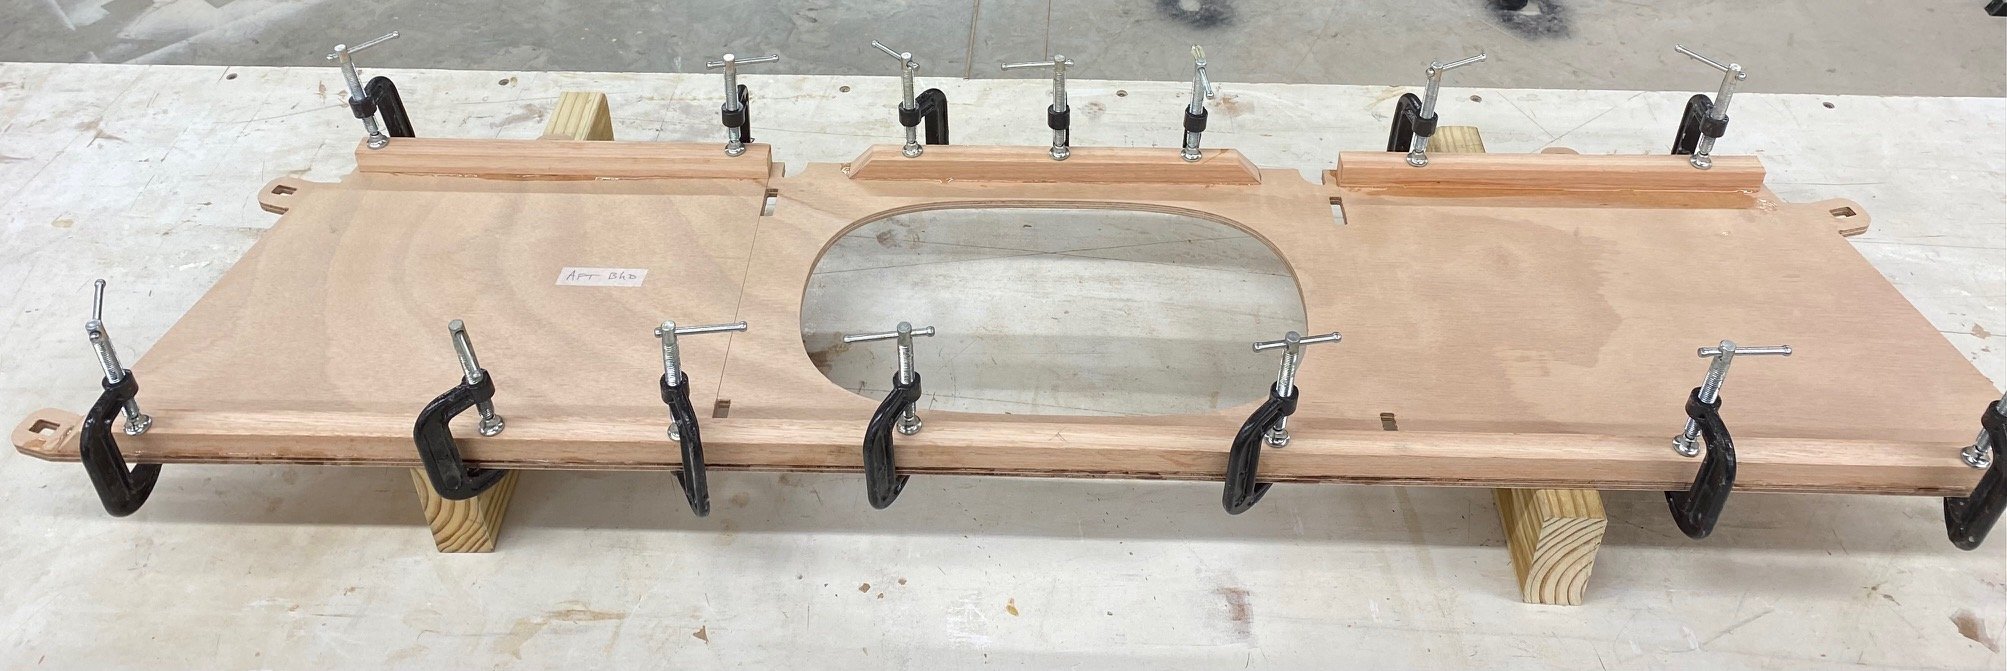
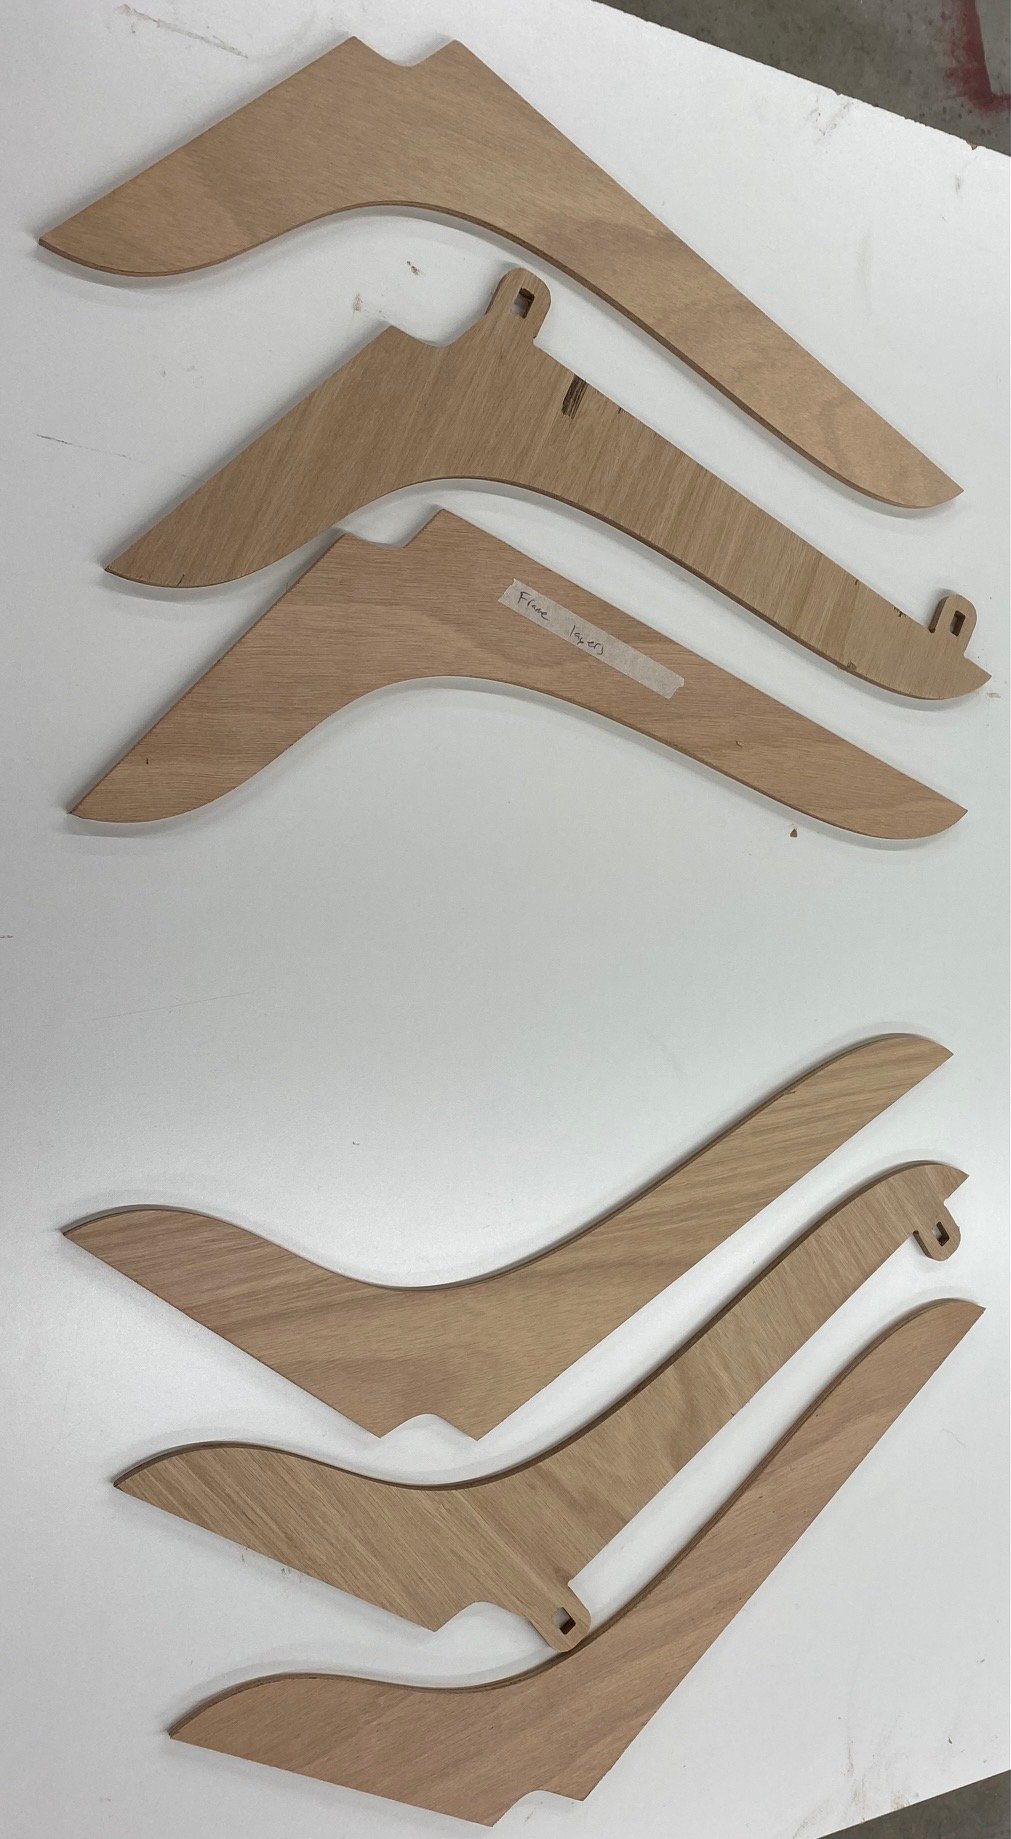
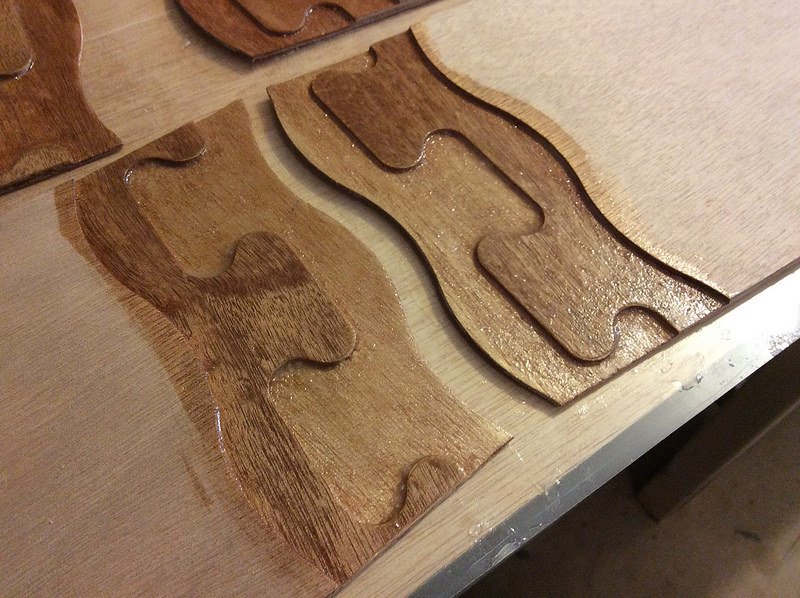
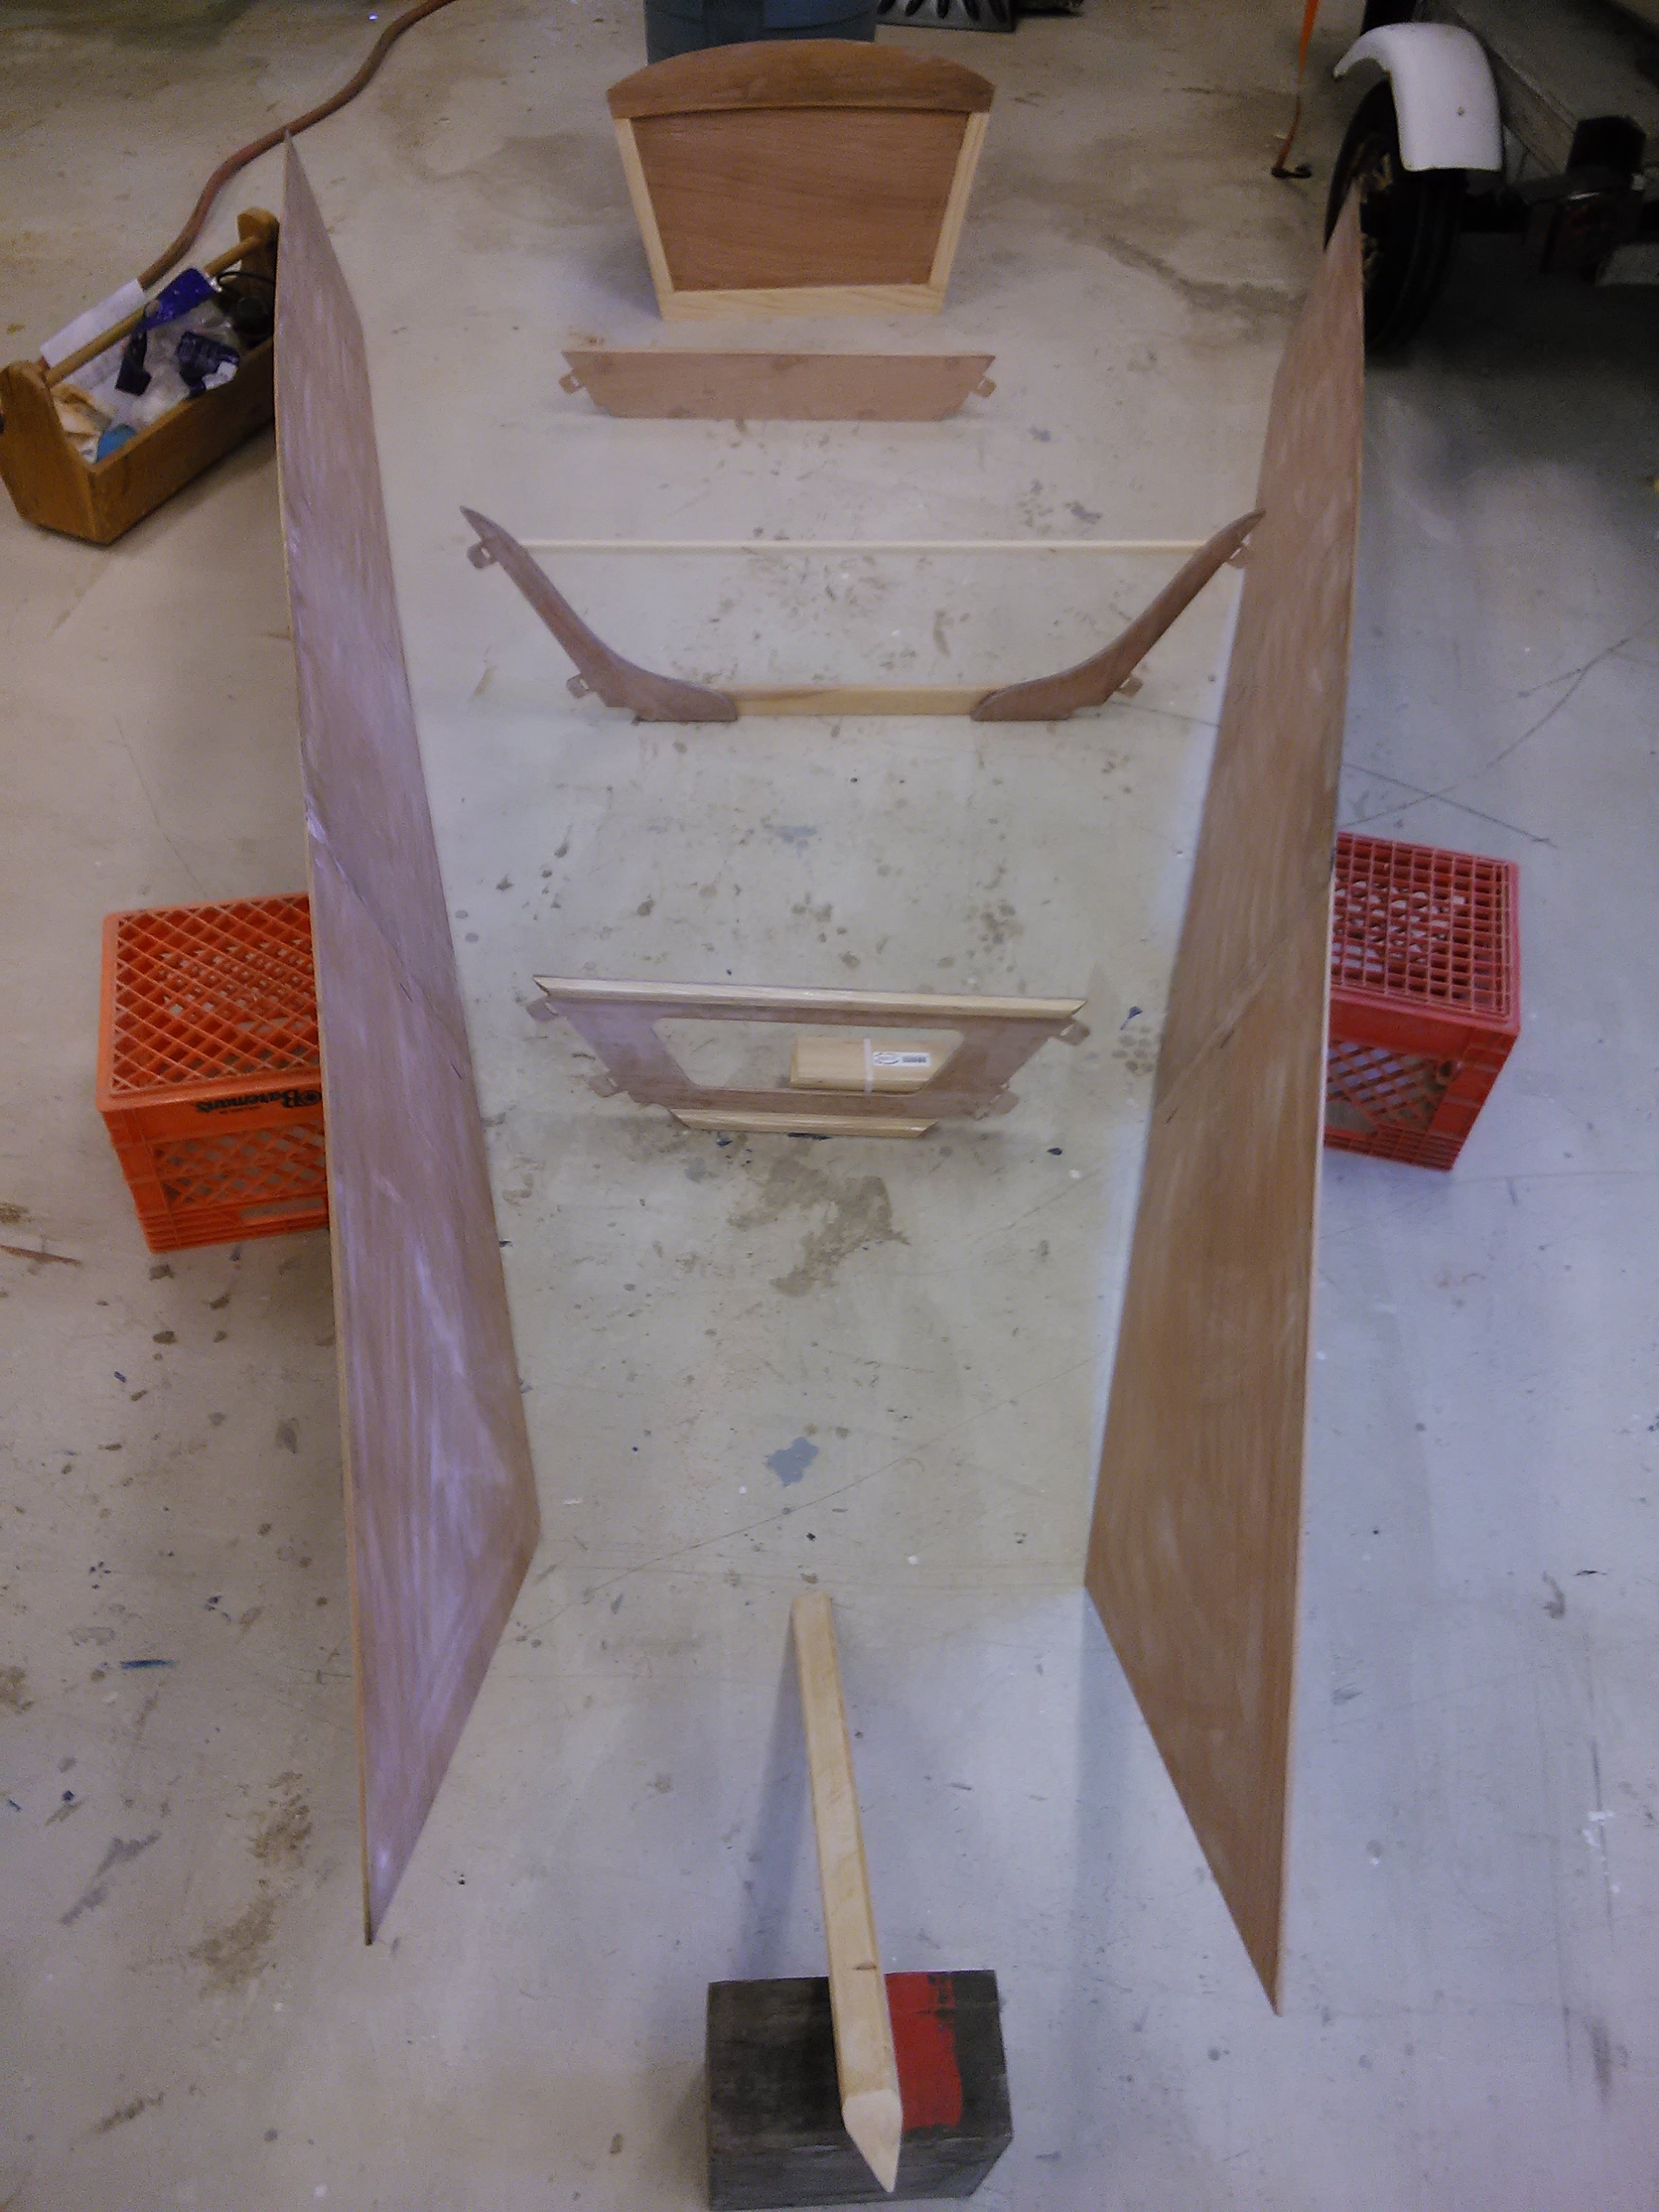
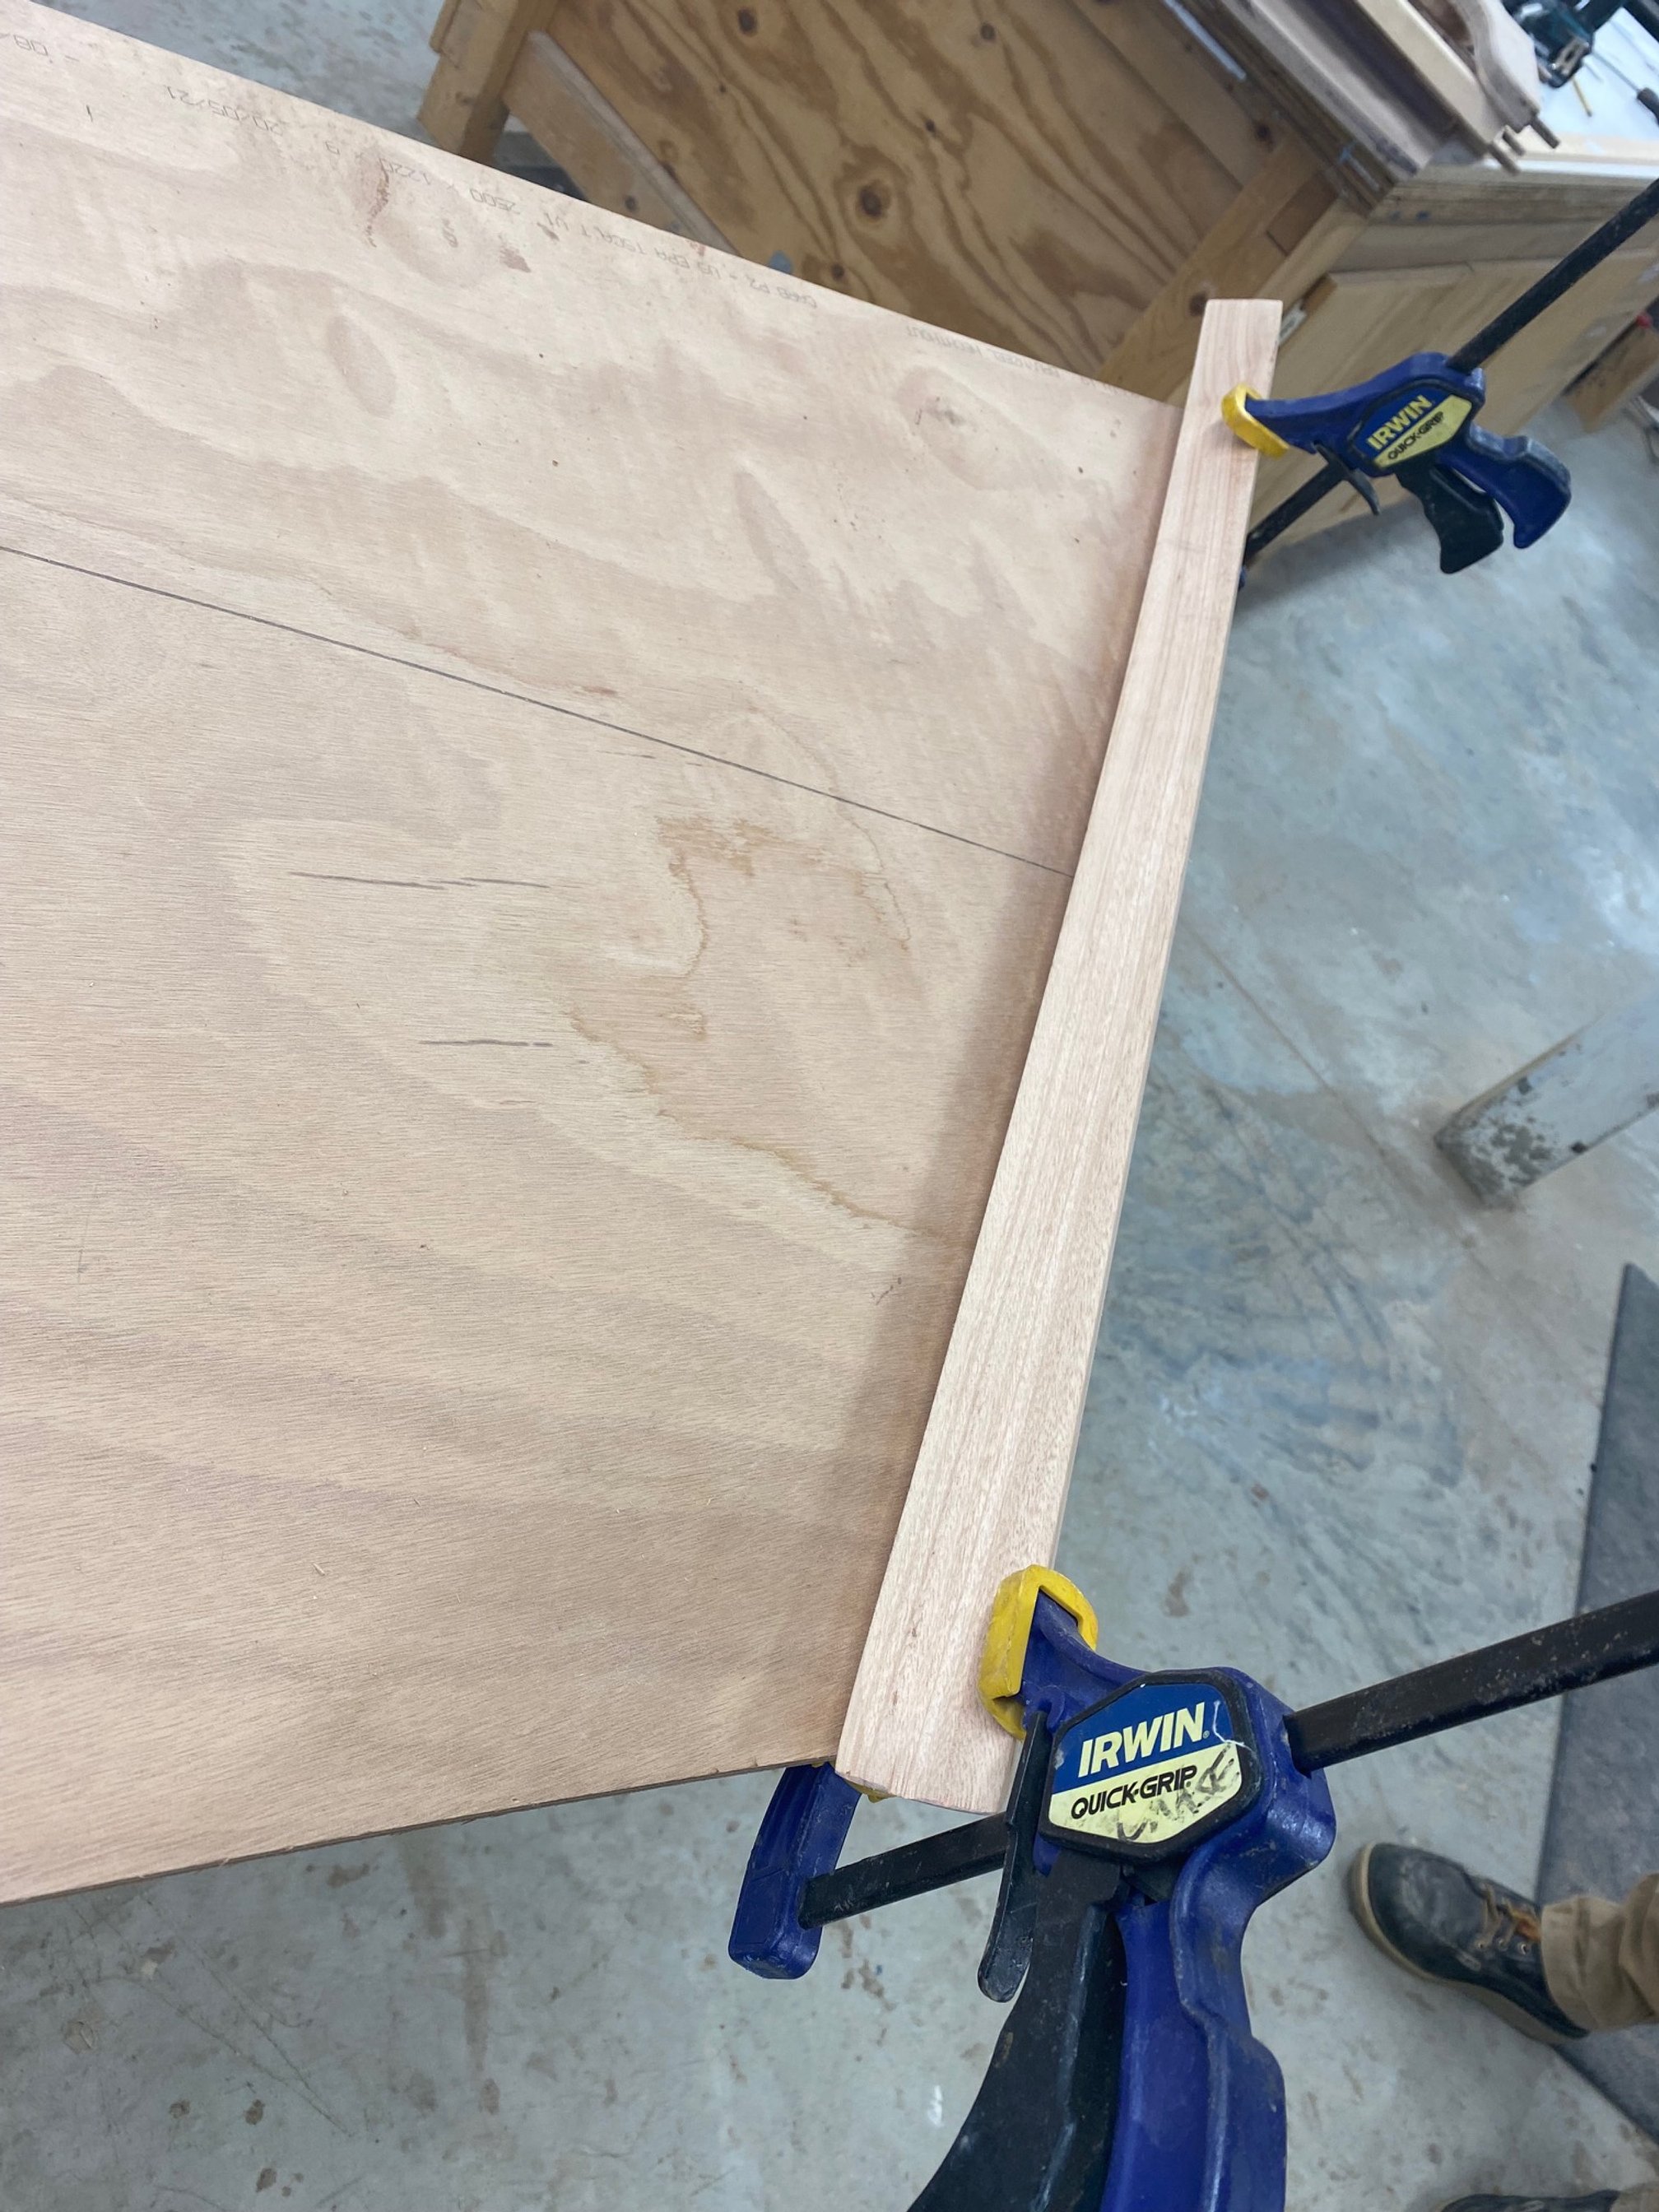
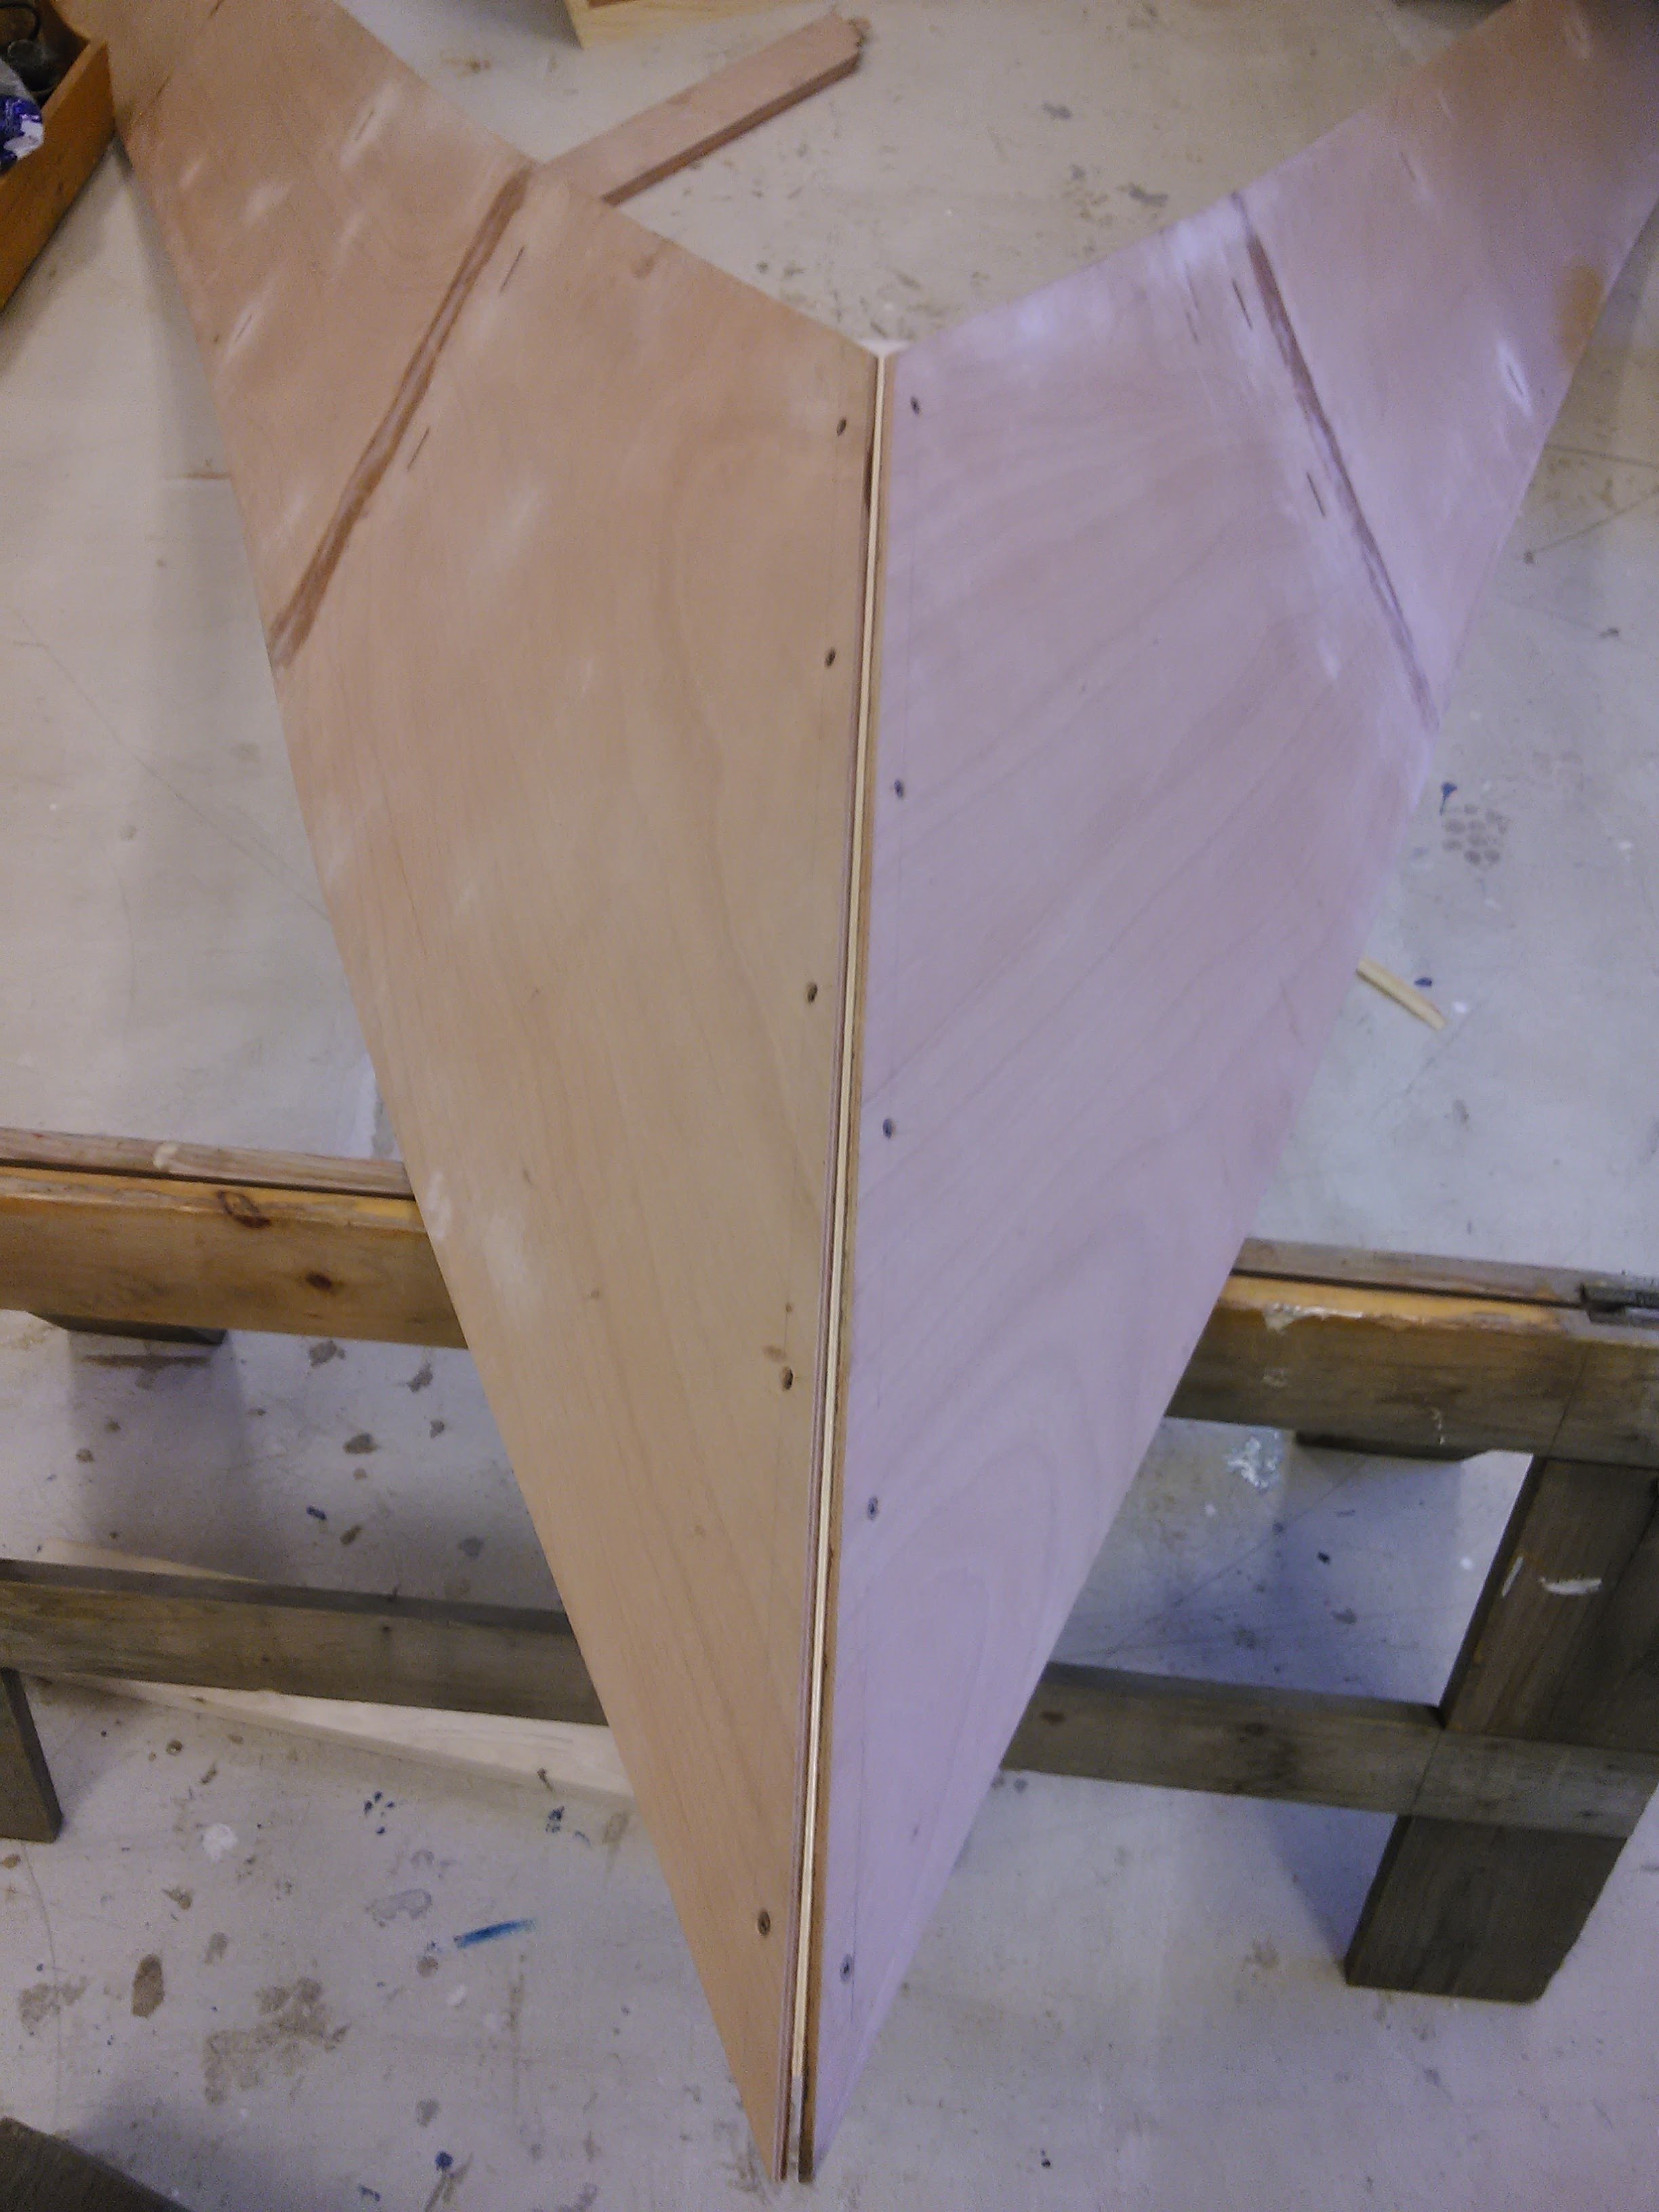
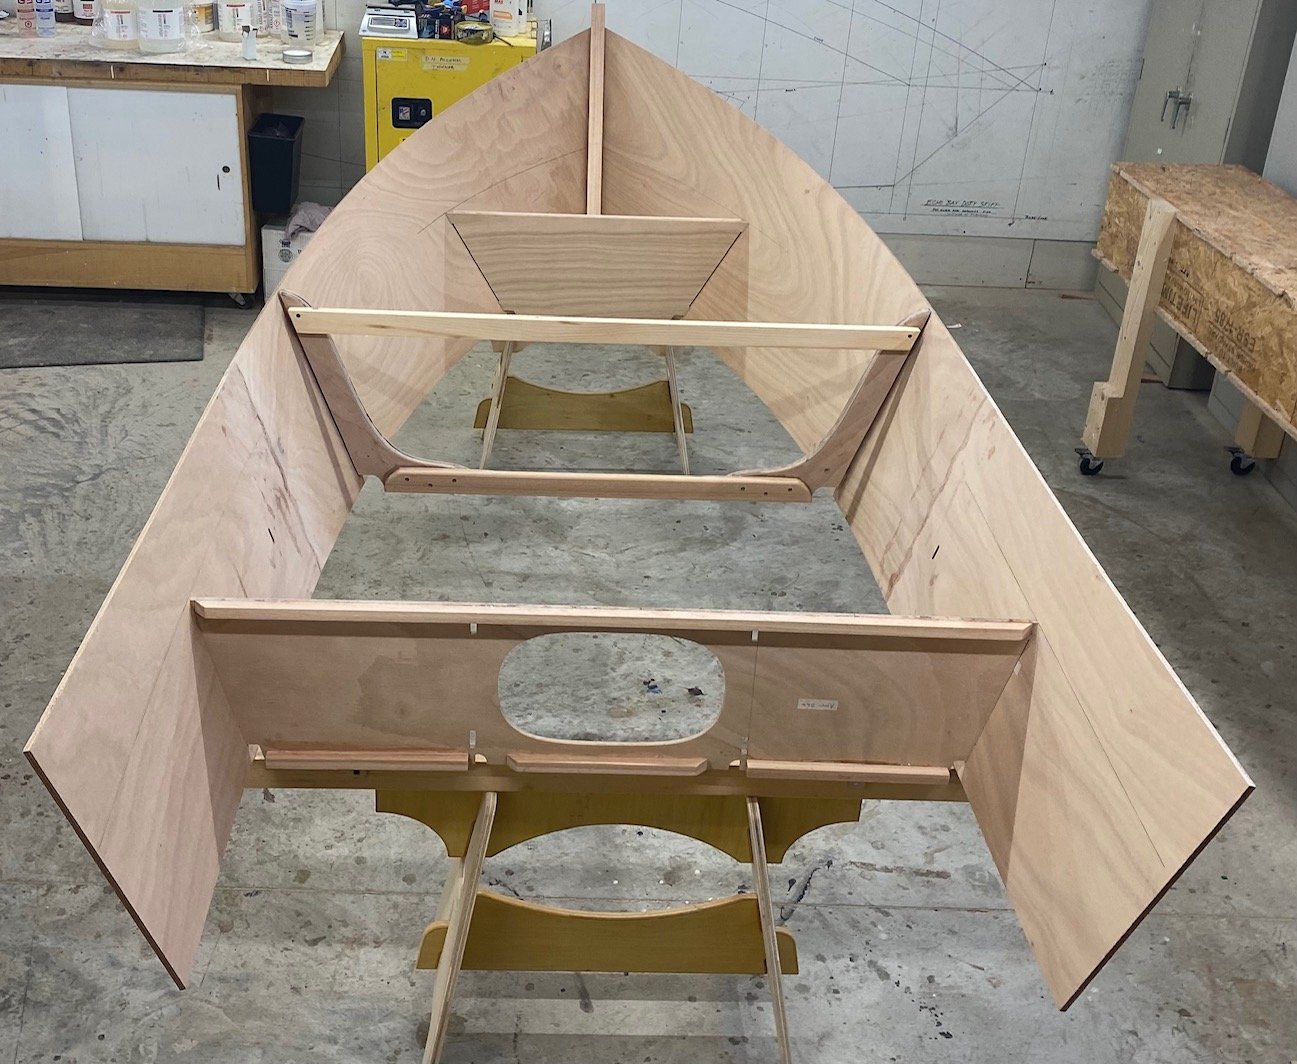
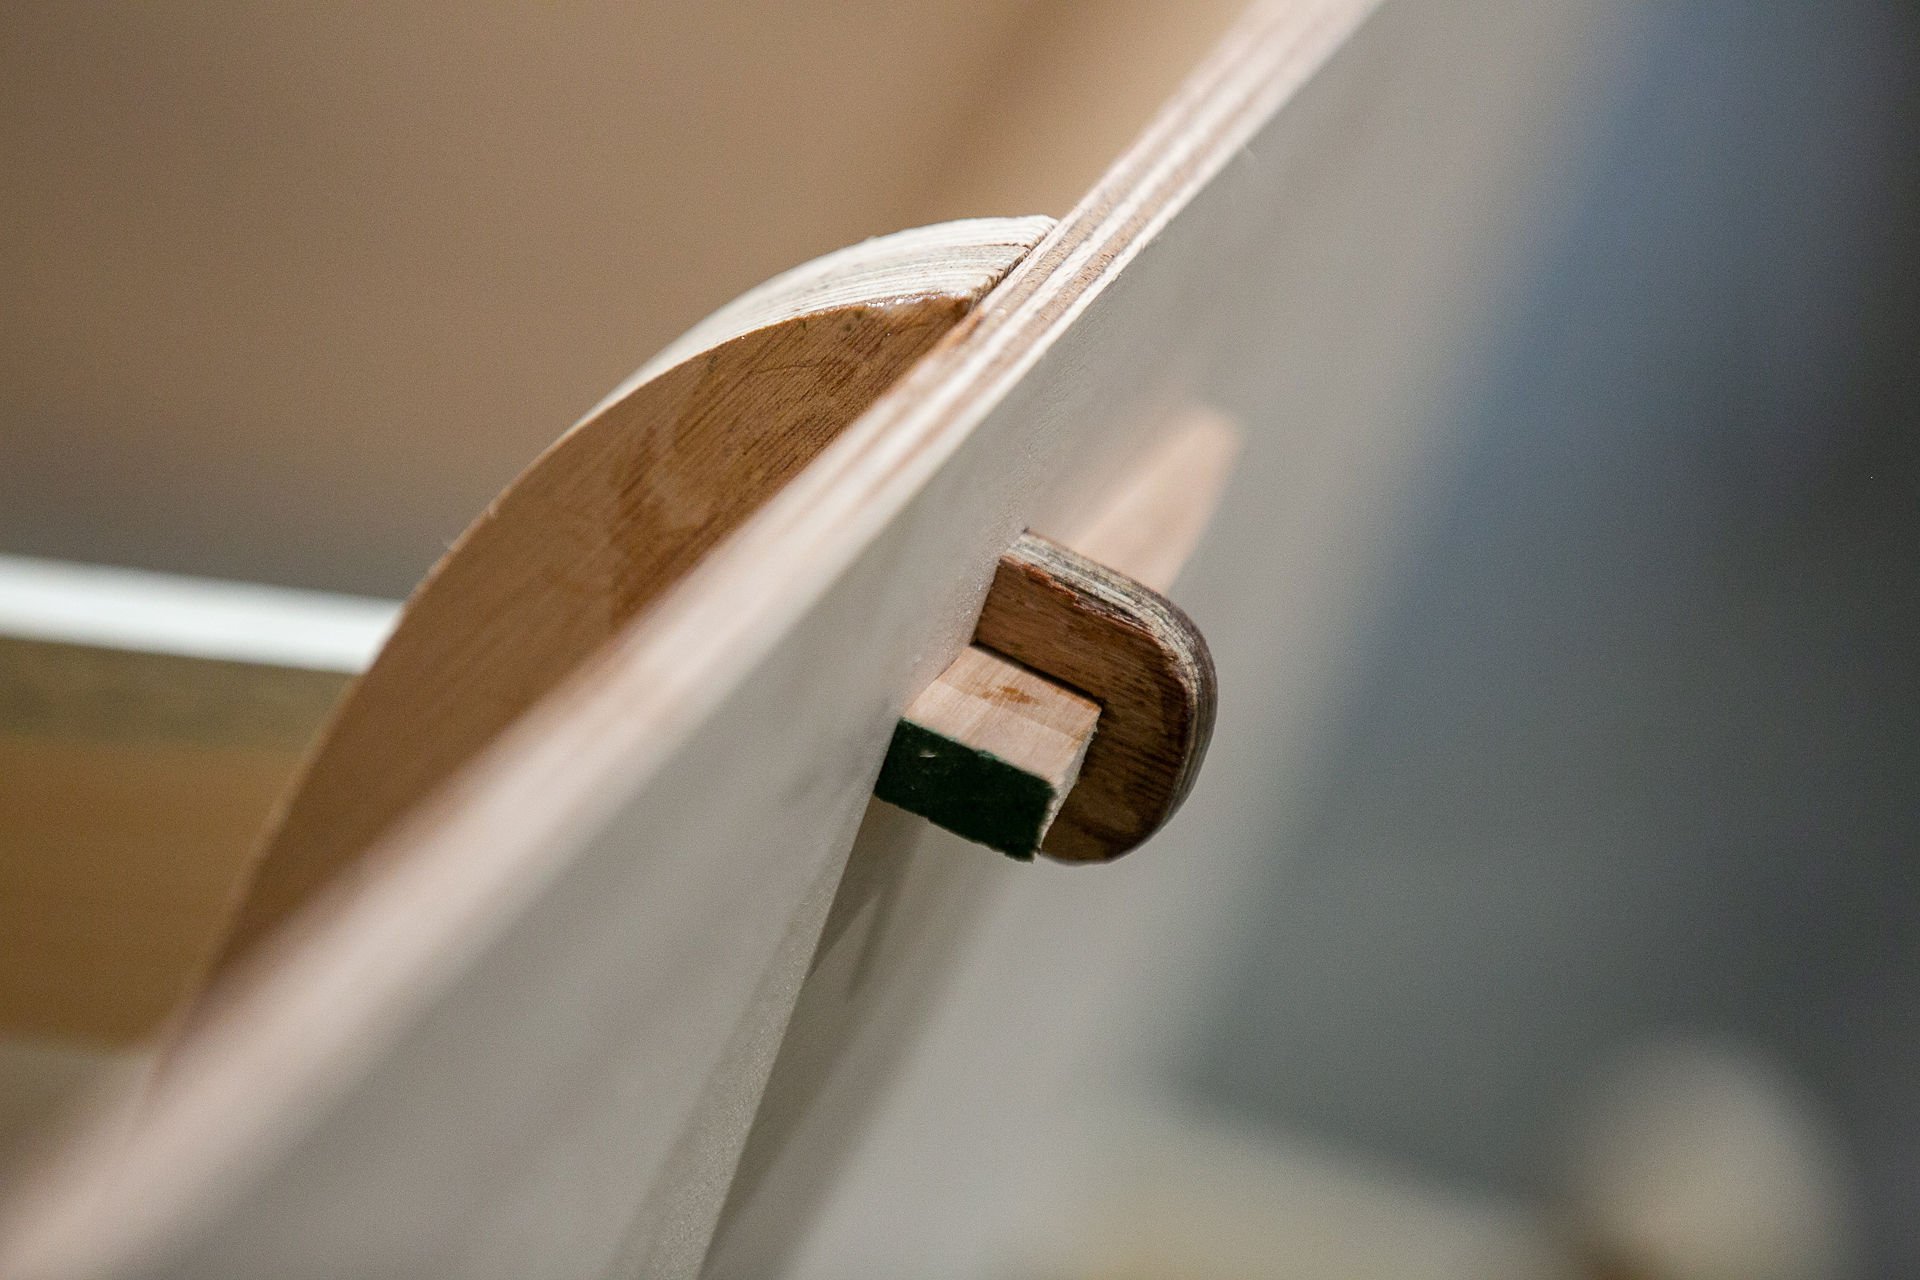
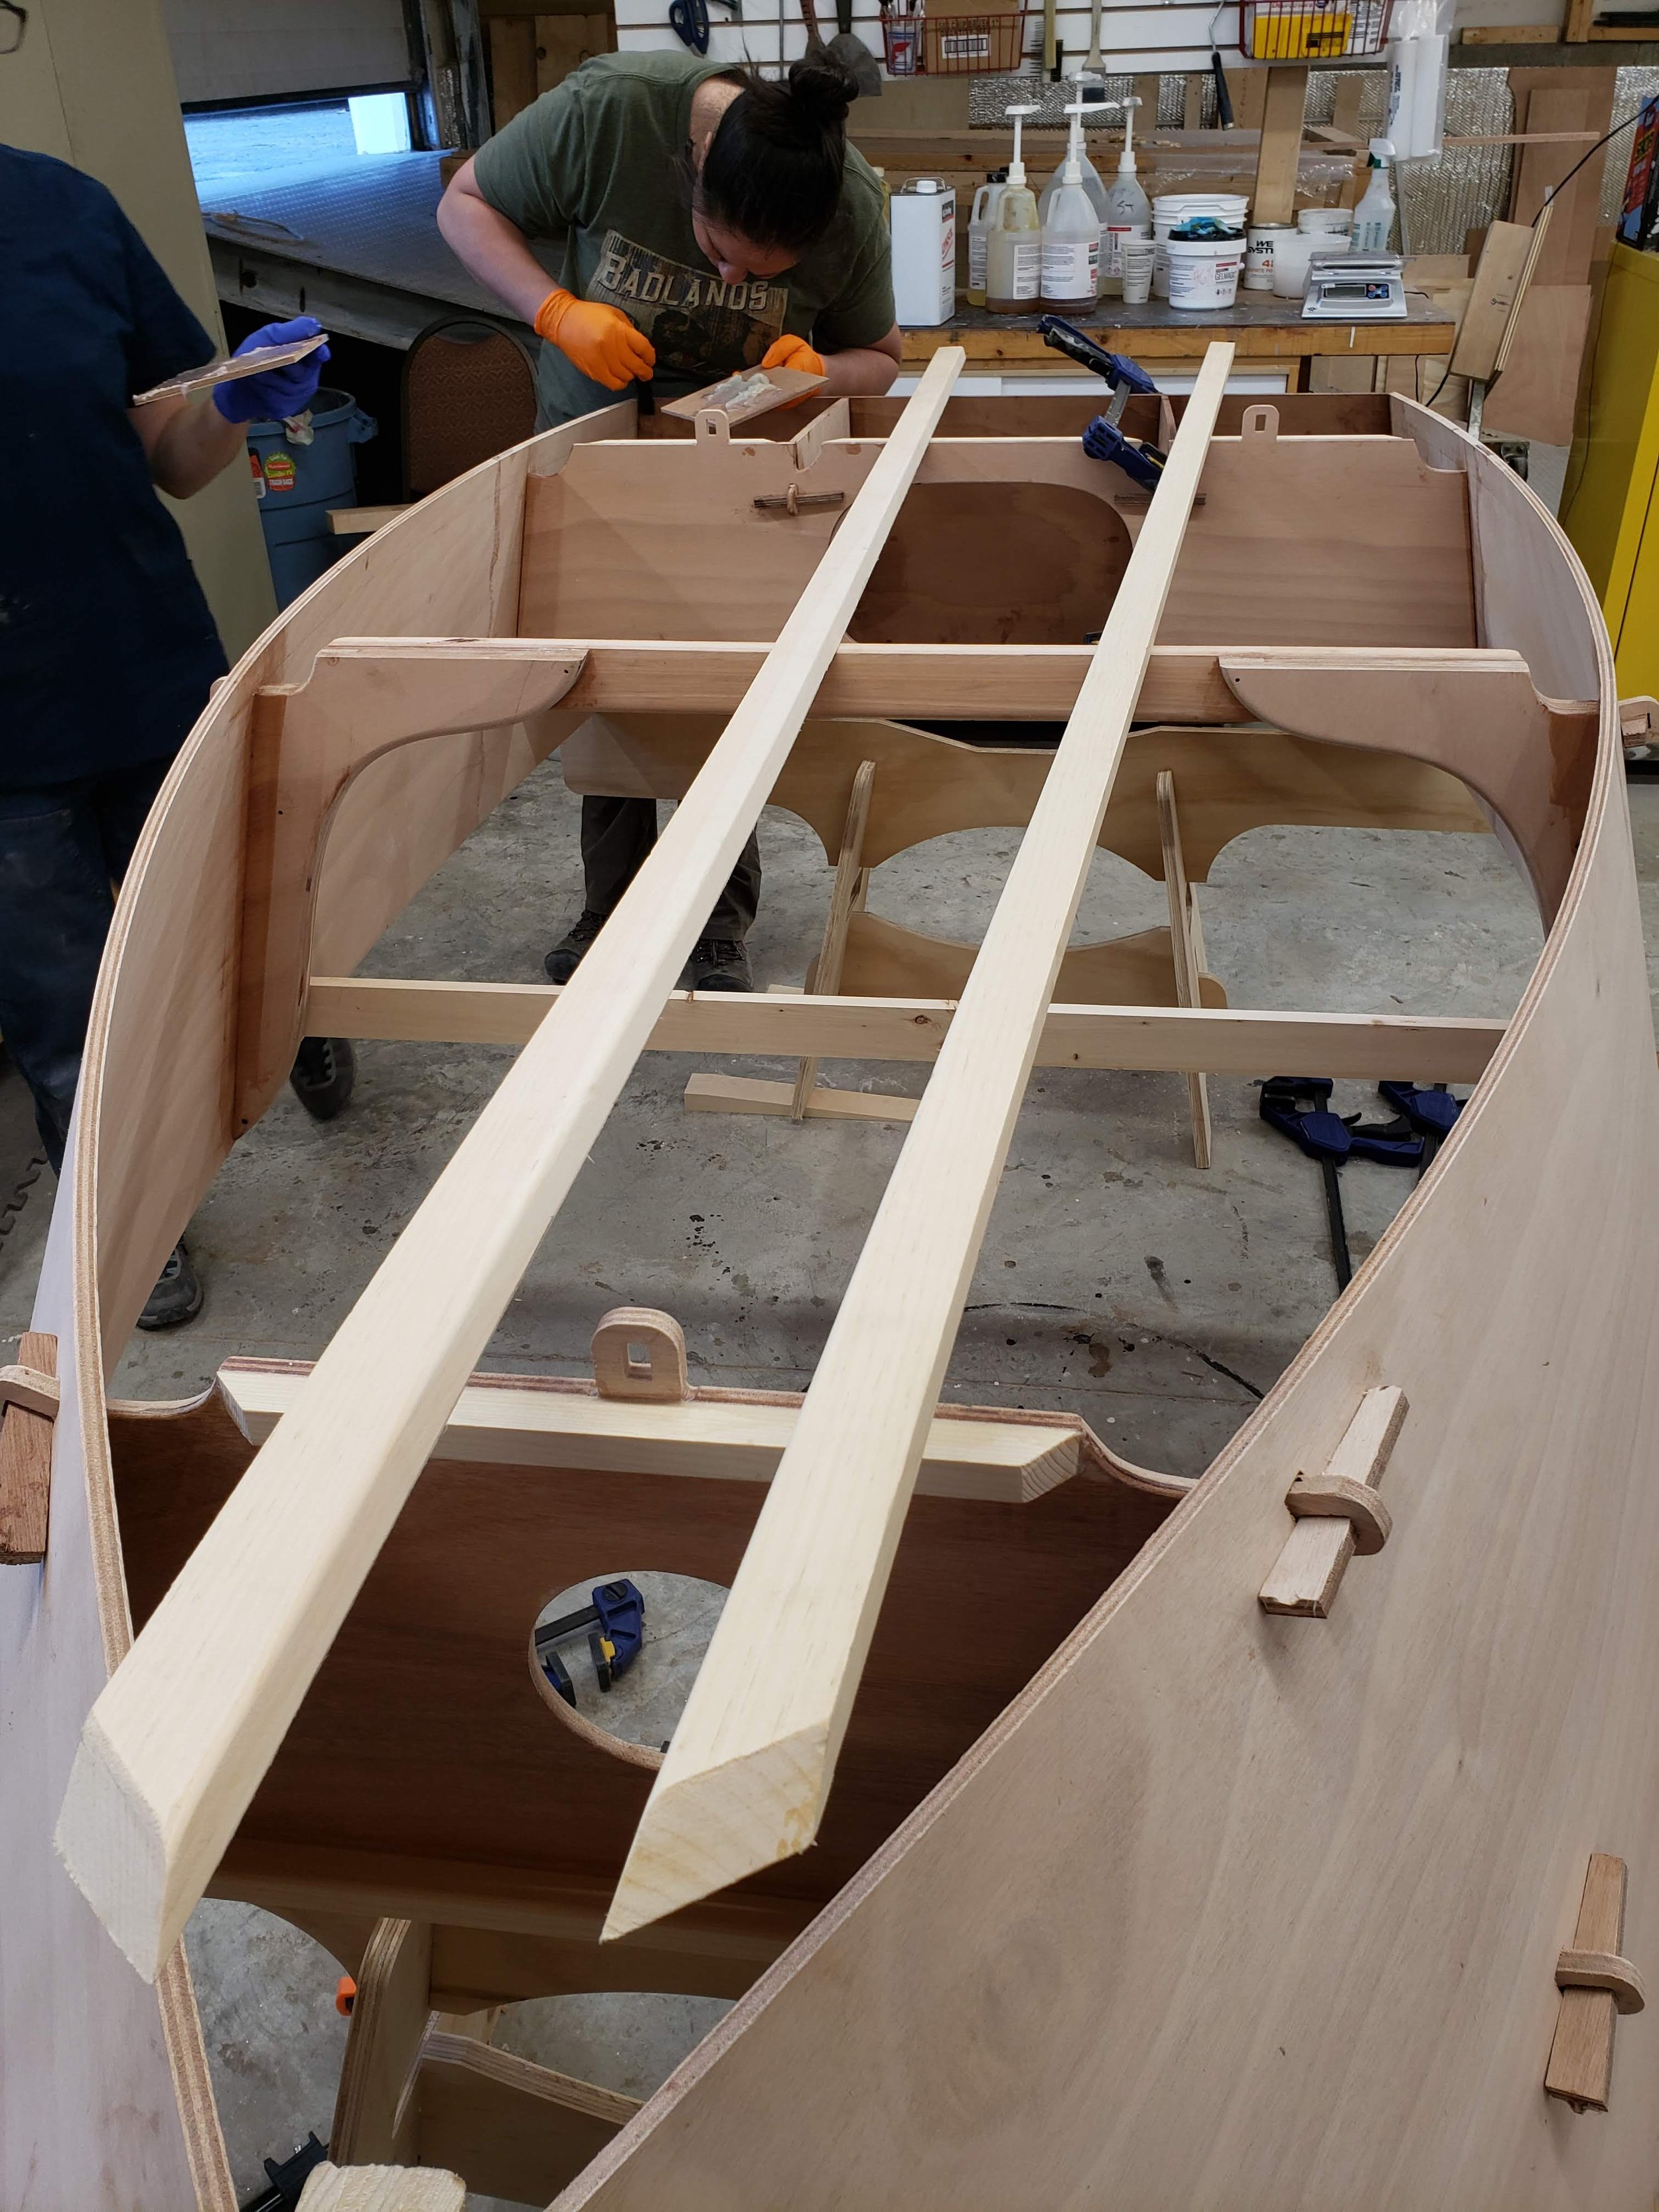
Many of our kits use a hybrid system of Tab-n-Lock, glued-lapstrake, and tack-and-tape construction. Glued lapstrake is sometime regarded as harder to do than stitch-and-glue construction - but while it may require tool use and a couple other boat building skills, it is quite easy once you have seen it done. We are working on videos to show the technique, but the process is thoroughly described with photos in the boat manuals. A great way to learn about this is in our workshops. We have a a great class called Boatbuilding 101. In only 3 days, we cover the methods that I am discussing in these blog posts. Stay tuned for next year’s class schedule on our workshops and classes page.

Some of the main advantages of Glued-lapstrake kit construction are:

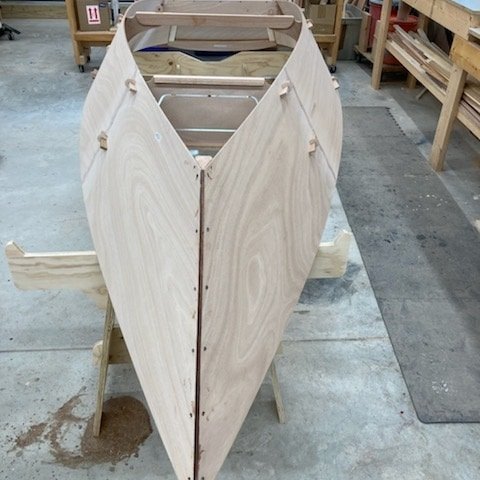
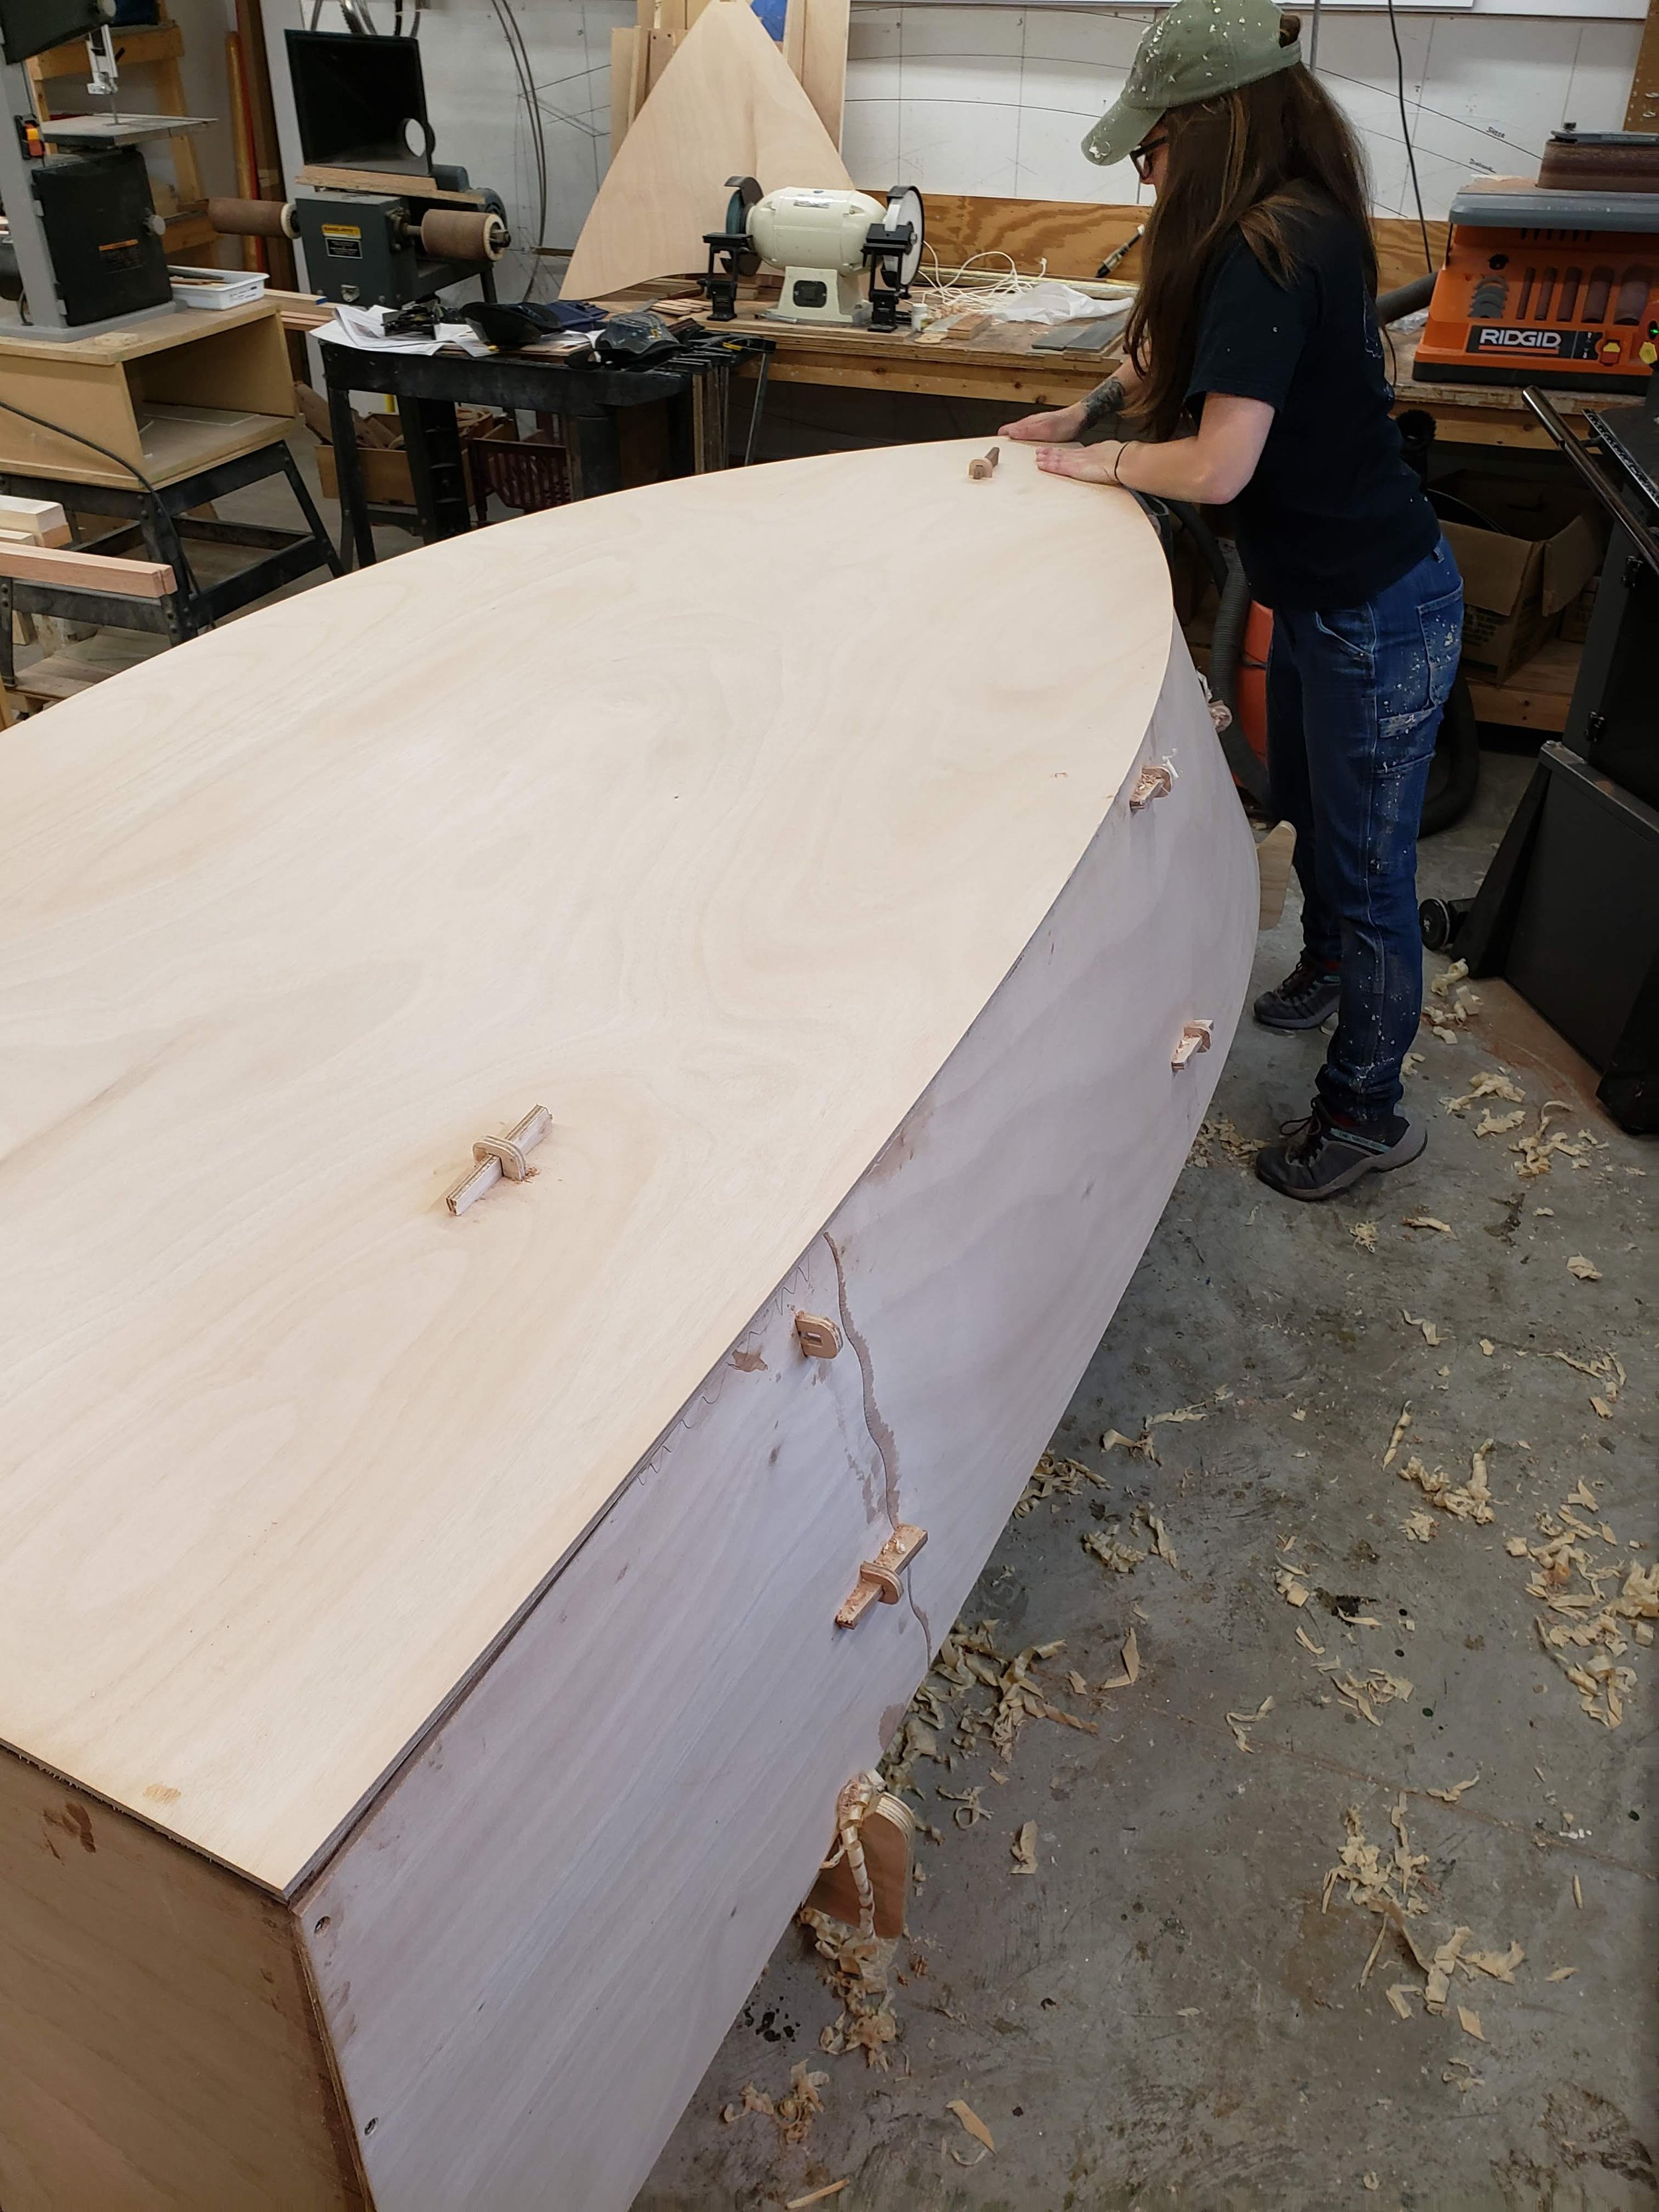
  • Self-fairing of the planks creates superb lines on the boat. The overlaps follow each other and help make very sweet, flowing curves around the hull without relying on extra molds.

  • Because of the stiffening and strengthening effect of the epoxy-glued laps, the amount and size of the internal structure required is way less, saving, time, money, and weight.

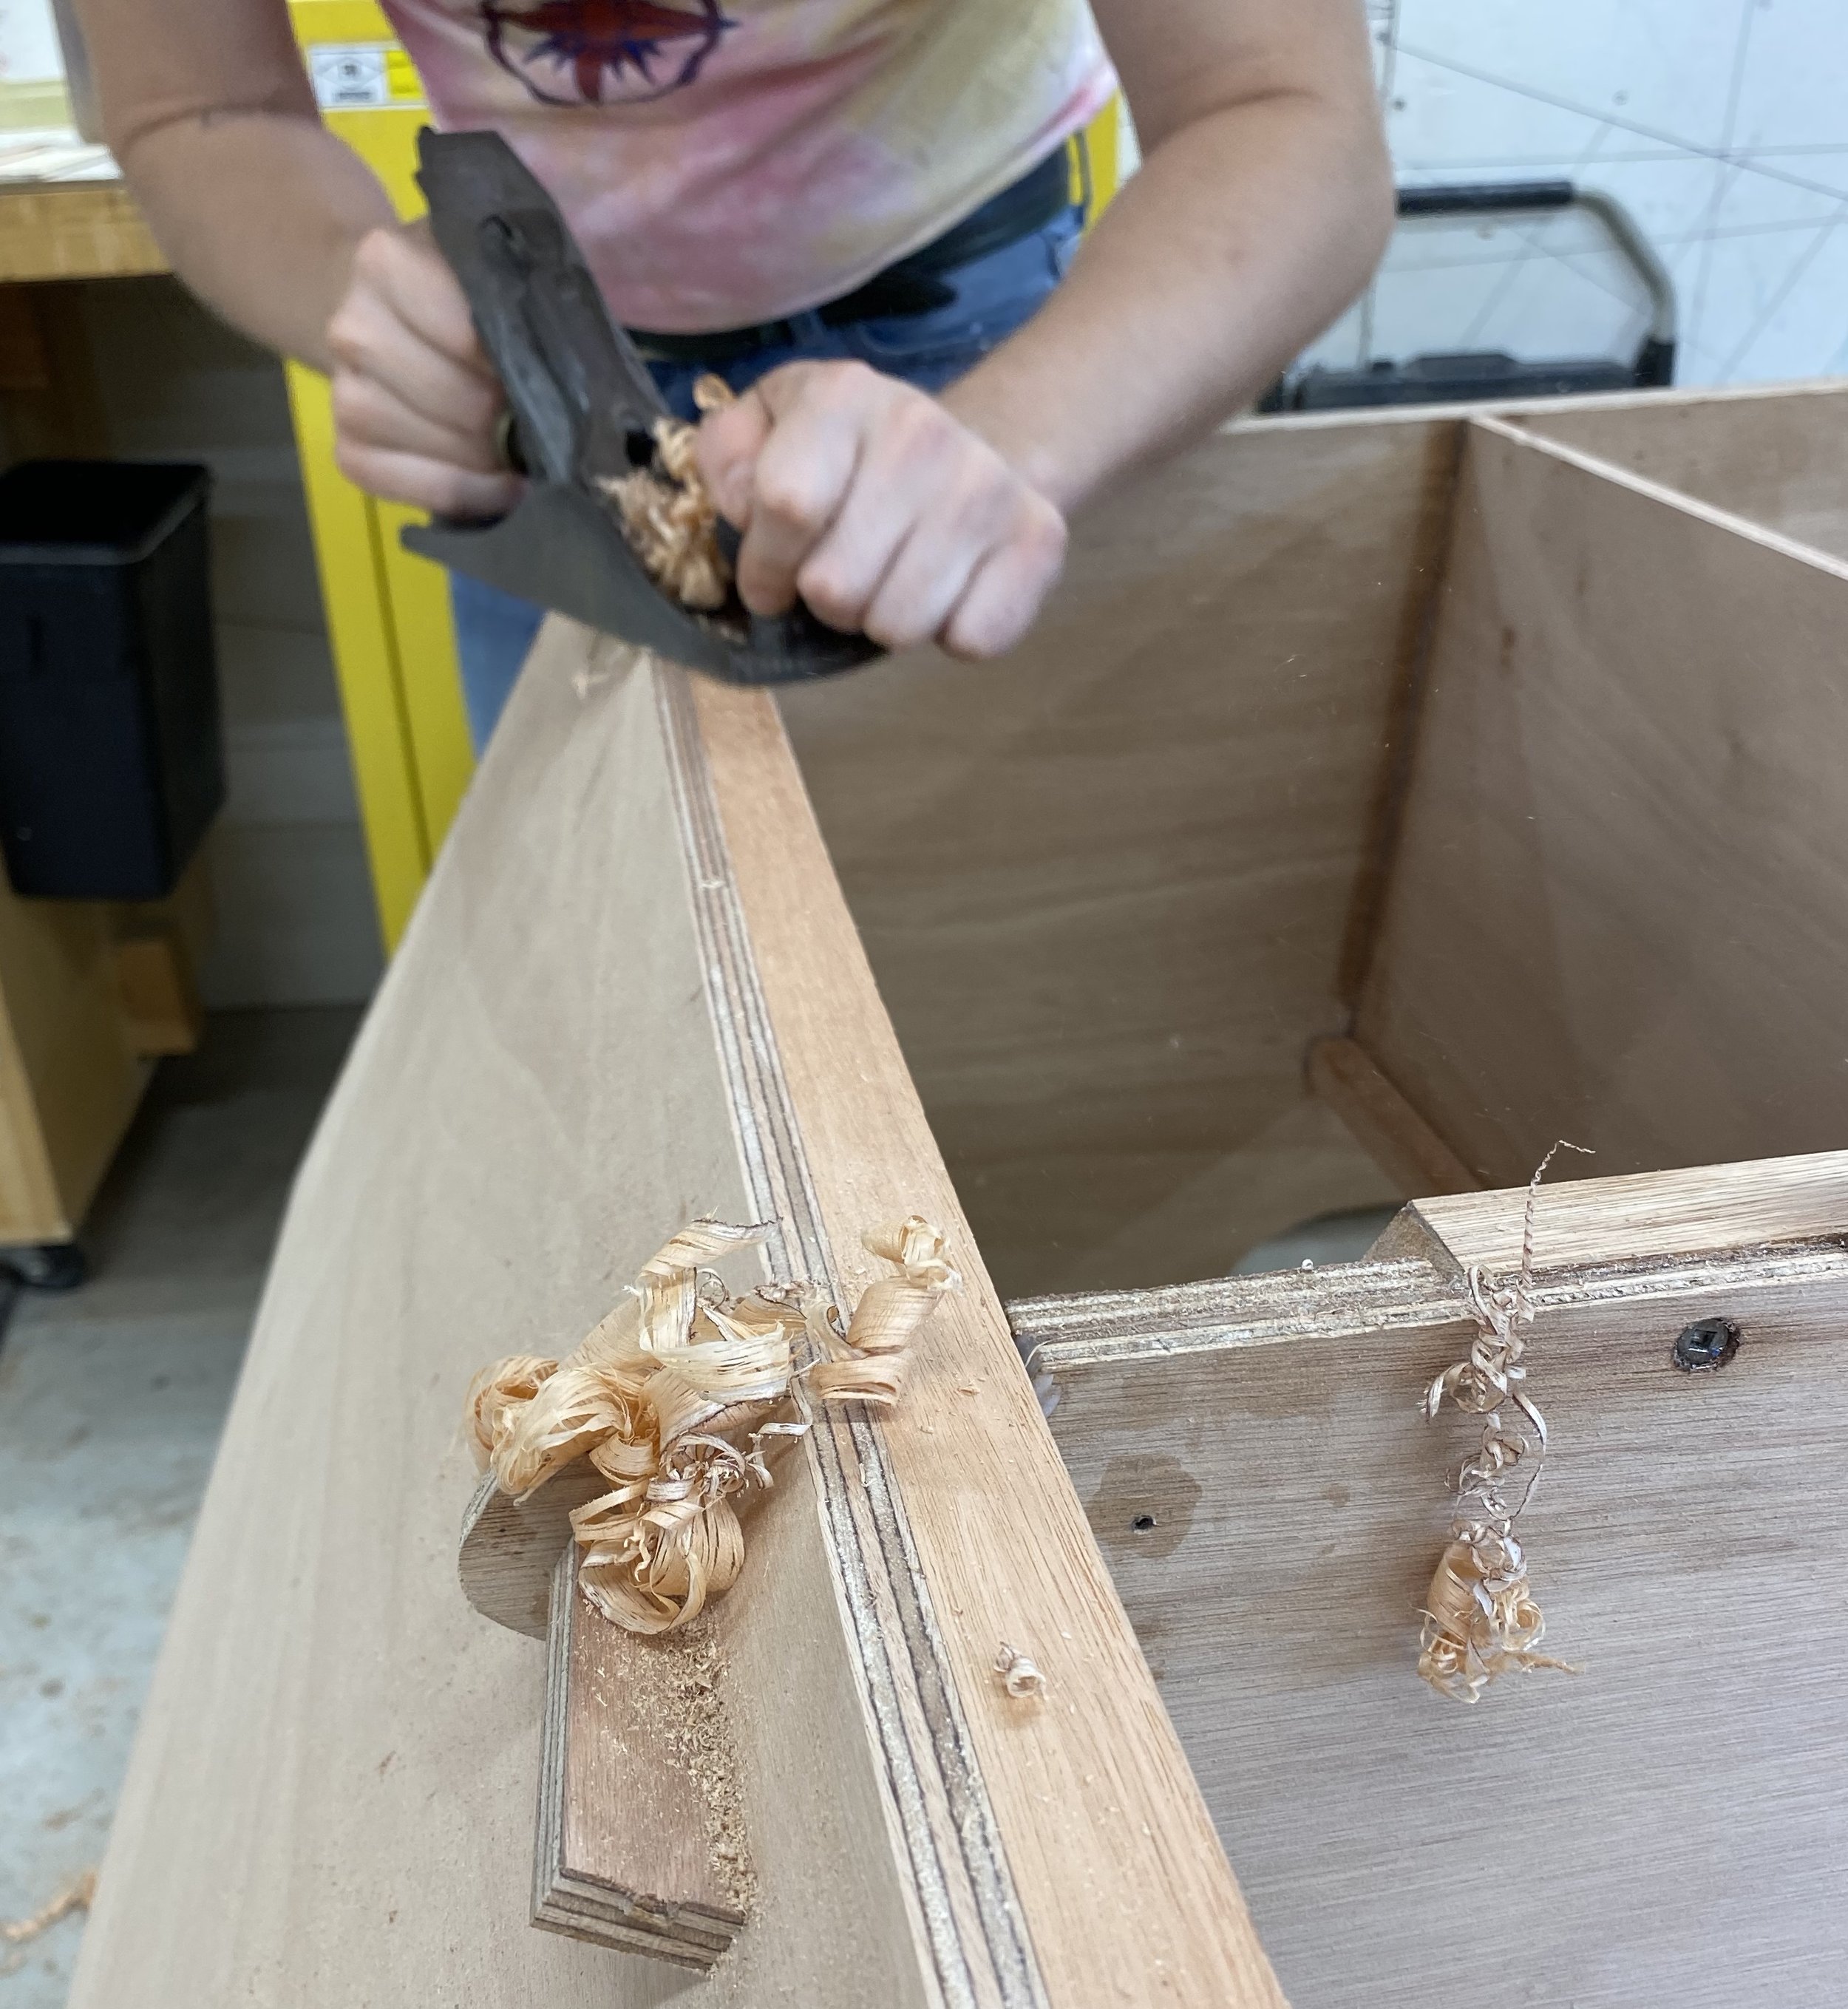
  • You get to learn some skills using a block plane, rabbet plane, and fitting the joint.

  • Very little epoxy is required, just enough in the joint to get squeeze out and sometimes a fillet on the edge.

  • No fiberglass is required - this is a very clean way to build a boat - no mess!

  • Very little sanding on the planking thanks to the lack of fiberglass.

  • The lapped joints act as longitudinal stringers and add a lot of structure to the boat without making it heavier - glued-lap boats are quite light as a result and make a clean interior.

  • Lapstrake hulls have a way of catching the light, creating shadow lines which make them very beautiful.

  • Some say that the laps help provide some lift to the hull underwater, reducing resistance and also knocking down waves that try to climb the side of the hull.

  • Traditionally lapstrake construction is more advanced, but in our innovative kits, a lot of the hard stuff is taken care of allowing people to do the easy, fun part: making shavings and sculpting the lines of their boat with precut planks!

You can see what I mean here, how the laps create shadow lines that accentuate the shape of the hull. This is why light colored hulls are sometimes nicer than dark colors on lapstrake hulls.

Only the Ilur and Drake rowboats are pure glued-lapstrake plywood - the St Lawrence River skiff kits will also be lapstrake when those are out. Most of our boats, like the Calendar Islands, the KDI, the Deblois St Dory, and other Vivier boats use a hybrid of glued-lap and what we call Tack-and-Tape construction on the bottom. That will be the subject of the next post.

Are your boats Stitch-and-Glue kits? Part 1

This is the most often asked question I get, besides “How tall are you?” or “Do you play basketball”? The answer to the former is 6’6” and the latter question may be answered with “No, do you play miniature golf?”

But seriously, this is a fair question. How are your boats built?…is really what folks are asking, but the assumption is often this: since it is a kit, it must be stitch-and-glue construction. No, that is not the case.

I didn’t like getting this question early on because I knew my boats were certainly not stitch-and-glue but I was still working out a lot of the construction methodology on the fly. What is interesting is that people were and still are very surprised when they see one of our beautiful boats and learn that it was a kit. They exclaim, “THAT is a kit boat!?” But the first question still was always…stitch-and-glue?

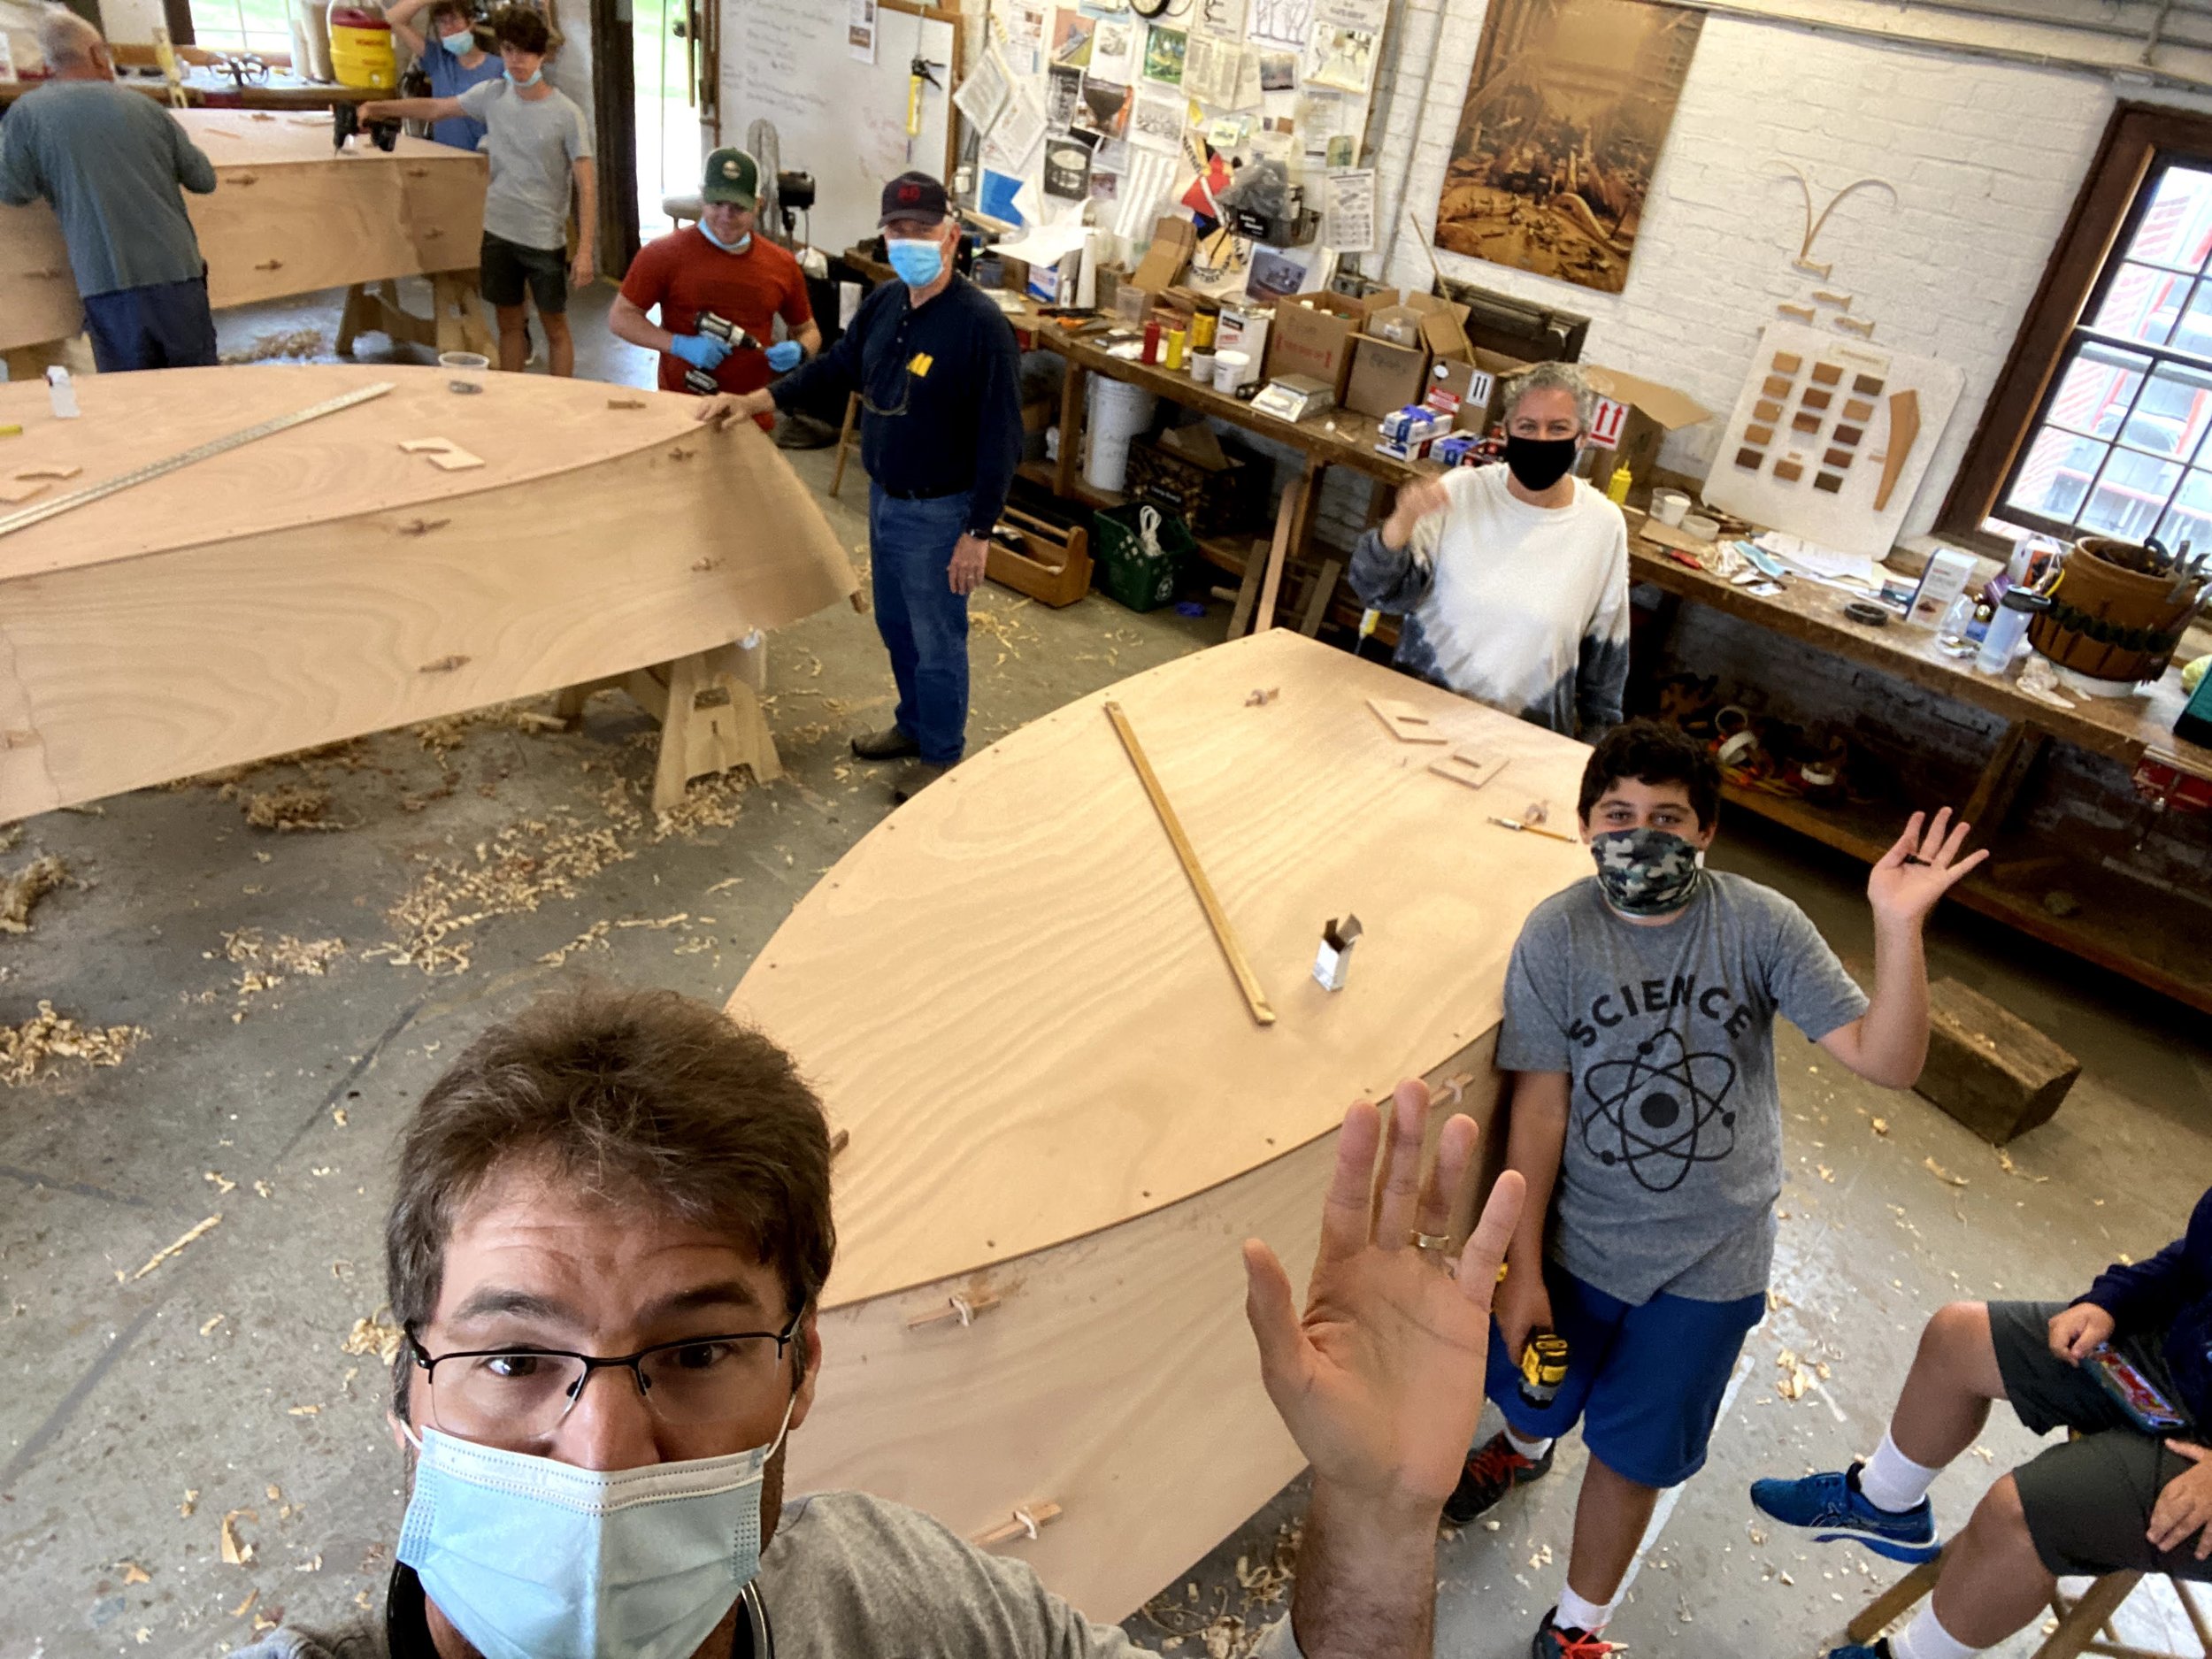
Family week, class of 2021 - unfortunately I snapped this after the family from CA already left

Our boats are primarily designed to be real, functional, beautiful boats as a first priority but ease-of-construction and build method is very much a part of the design process. There are a few ways the hulls are constructed depending on the design and they all utilize plywood-epoxy and what I call “Tab-n-Lock”:

  • Screw-and-glue, wood chine construction (the focus of this post)

  • Glued plywood lapstrake (will cover later)

  • Tack-and-tape seam construction (will also cover later)

The “easy-to-build” line up of boats all utilize the first method in the list above - boats like the Echo Bay Dory Skiff and Compass Skiff. They are excellent beginner boats because they do not require a strongback and have few parts to assemble. They also offer great lessons in real boatbuilding skills: bending wood, planing a bevel, predrilling and driving for screws, using clamps and other basic tools, and using epoxy and wood to make good, strong joints. In just a few days of working you can have the hull built without the mess of stitch-and-glue construction.

One anecdote sums up why I do not believe in the perceived superiority of Stitch-and-glue construction. At WoodenBoat School in beautiful Brooklin, Maine where I teach in the summers, I was teaching a build-your-own Echo Bay class. While my students were enjoying making long, cedar shavings with their hand tools, planing down the chines to receive the bottom, someone from the stitch-and-glue class came over, hands gloved covered in dripping epoxy and fiberglass, and said, “oh, cool, you guys get to use real tools in this class!”. One of my students noted how the stitch-and-glue guys already had a hull put together day 1 while they were still making parts (which they were enjoying, but they were clearly noticing that the other class already had hulls wired together). At the end of the week though, both classes had boats built, and our easy-to-build, tab-n-lock, screw-and-glue boats were further along (like they were totally done) and, as a couple students noticed, looking cleaner.

Next blog post we’ll talk about glued lapstrake and tack-and-tape methods to further illustrate our approach to boat kit construction.

The Points East Pram: design, build, and launch!

The crew after 3-days of building

On Friday, July 15th we launched a new boat, the Points East Pram. The Pram has been a productive and easy collaboration with Points East Magazine, a wonderful boating magazine that is free and full of great reading about all sorts of boating from around New England. I always wanted to design a Pram and I’ve always loved the magazine, so it was natural to call the project the Points East Pram.

You can read all about the Points East Pram project in a series of articles published in Points East, starting in November with the article that introduced the project. The important feedback that came out of the survey of the readership was that people wanted a dinghy they could build from a kit and primarily row or sail and motor secondarily. The resulting dinghy had to be stable and have good capacity was also important. I talked about using this feedback in the article I wrote in February after the survey results came out.

One tricky aspect of any boat is how big to make it especially when it comes to a dinghy like a pram that may be used a lot as a tender. Customers of mine want something as small and light as possible to tow behind an 18-20’ boat but someone with a 40-footer and crew to get from ship to shore would want a 10-footer. I decided to start with an 8-foot model because the planks could come out of a sheet of plywood and the model could be scaled up or down from there to get a smaller and larger boat.

One interesting thing to come out of studying the Pram at 7’, 8’, and 9’ lengths was how dramatically the displacement of the hull went up with each foot-long increase in overall length. I talk about displacement in the third Pram article in Points East Magazine.

We launched the Points East Pram on July 15th at Marston’s Marina in Saco on the Saco River on a beautiful 80-degree, sunny day. Here are a few photos and I’ll be back to talk about my take on the results.

Happy people rowing the first ever Points East Pram. More later on what we thought of her and more launch photos.

Post-MBBS: So much happening!

The Maine Boatbuilders Show was fantastic as always. The booth is always humming nearly the whole show with people learning about the boats, how they can build one or get one custom built in the shop, what is included in a boat kit, and al the ins and outs of these great small boats.

An Echo Bay Dory Skiff for a customer in Virginia.

An Echo Bay Dory Skiff for a customer in Virginia.

A Calendar Islands Yawl under construction

A Calendar Islands Yawl under construction

t is especially nice to see customers, old and new, and connect about their boats and projects. I will say this, it often is about the boats. The careful design, the exact cutting, the high quality materials, and the constant efforts to make the boats better and better over the years. But moreover it is about people and it is about joy. The people who make their dreams a reality and the joy they get both in the journey there and the result: a beautiful boat that will offer adventure and memories for the rest of their lives.

(right to left) A new collaborator from Quebec, the owner of Jewell number 1, and two KDI builders.

(right to left) A new collaborator from Quebec, the owner of Jewell number 1, and two KDI builders.

Two sponsors of the Calendar Islands 18 design project and boatbuilder/teaching colleague from WoodenBoat.

Two sponsors of the Calendar Islands 18 design project and boatbuilder/teaching colleague from WoodenBoat.

Workshop Schedule Up

Two workshops are schedule for 2019, Intro to Boatbuilding with the CIY and Sparmaking.

Late last year, I had a group in the shop for the first run of Introduction to Boatbuilding with the Calendar Islands Yawl. Here is what Ben had to say…

“For me, the greatest takeaway from the class is the confidence in myself to make my project successful.  Having helped build a boat under your guidance was a great experience. I loved the shop, felt really comfortable moving around, felt like I was working in a friends space.  For Dave and I your teaching style was excellent. You gave us the information needed, then let us work. We were able to figure things out for ourselves, but you were still always willing to come guide us as needed.”

-- Ben, CIY class participant

20181116_165737.jpg

Another student bought the boat and we are finishing it out in the shop for him.

I look forward to teaching the methods of sparmaking that I have settled on after years of practice and building boats.